
latest
habitat tv

Say goodbye to the morning scramble for keys, coats and sunglasses and hello to this… see this and more videos
blog

Reader roundup: See what our readers have been up to!
Refurbished vintage furniture, charming exteriors and magnet walls for kids. These projects are sure to… more
DIY twinkling star sign
13 Mar 2019
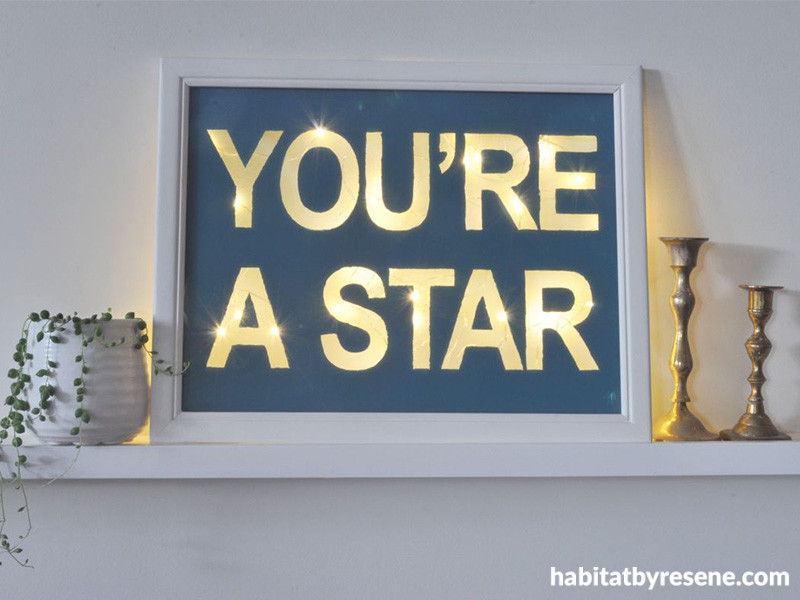
With a string of seed lights, a Resene testpot and an old picture frame, you can show off your serious DIY star power with a customised illuminated message like this one.
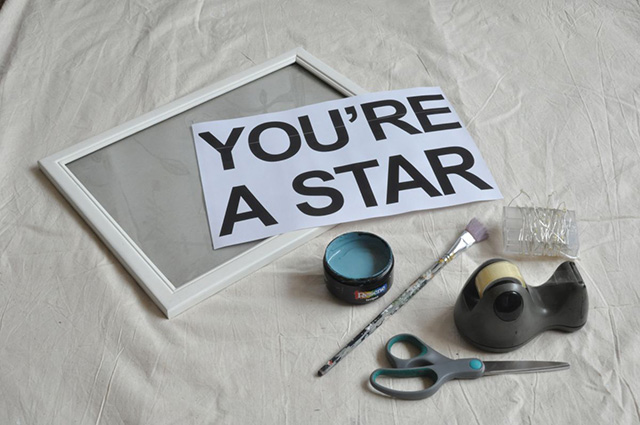
You will need:
- Resene testpot in a colour of your choice (we used Resene Bismark)
- Photo frame
- Printed out message (e.g. YOU’RE A STAR)
- Sellotape
- Scissors
- Small, flat artist’s brush
- Seed lights (with batteries)
Step 1 Print out a quote or words that you want on your sign. Make sure that they will fit in your photo frame. Carefully cut out each letter.
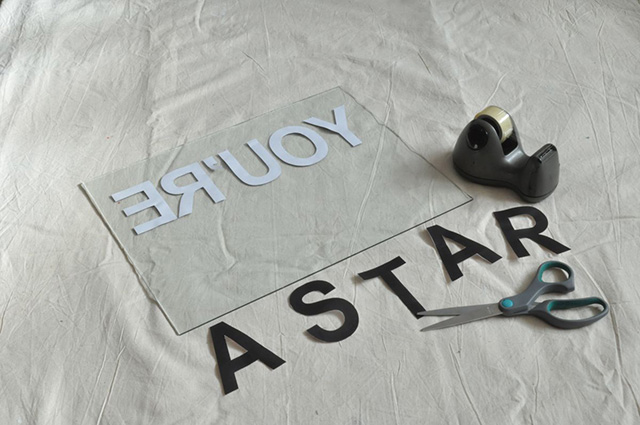
Remove the glass from the frame and using loops of Sellotape, flip the letters from back to front and stick them on the back of the glass. Make sure they are straight and evenly spaced, and double-check that it reads properly when you turn the glass over!
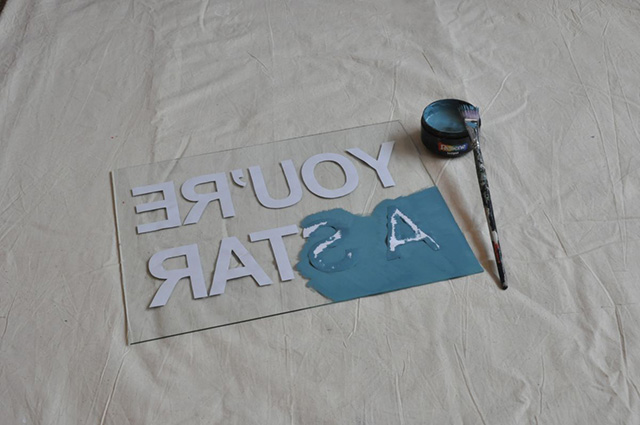
Step 2 Working slowly with a small, flat brush, paint a thin even layer over the glass. Try to brush away from the letters so that you don’t force paint under the letters. For solid coverage, apply a second coat of paint, or for a different effect, keep it as a single coat so that the lights shine through.
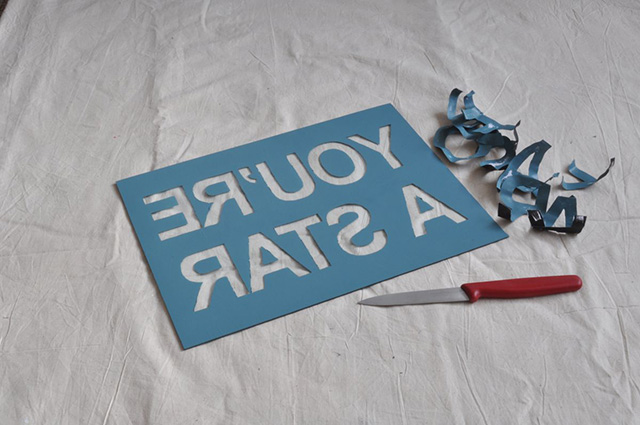
Step 3 Carefully remove the letters while the paint is still wet. Any bleedthrough can be gently scraped off with a small kitchen knife.
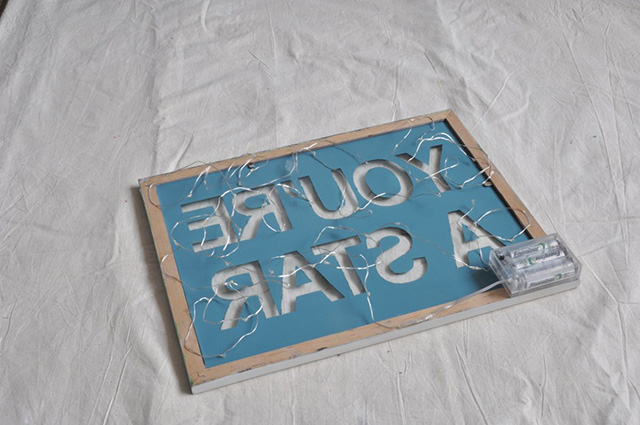
Step 4 Once the paint has dried, reassemble the frame. Zig zag the seed lights back and forth across the back of the frame and secure them with Sellotape to the side of the frame. Be sure to secure your sign to the shelf or wall where you are displaying it to minimise the risk of it falling and breaking.
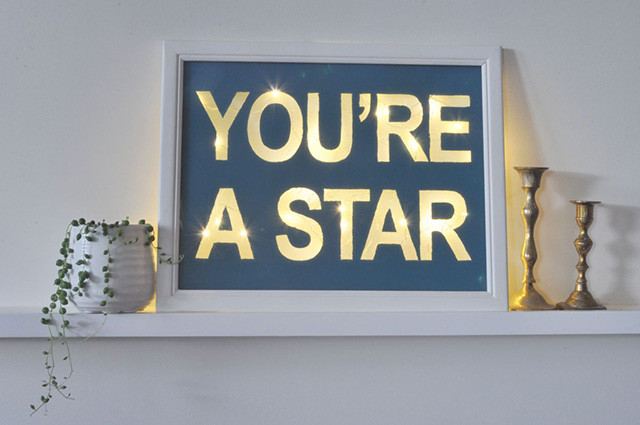
Fleur Thorpe’s “You’re a Star” sign lights up these walls in Resene Cararra. The shelf has been painted Resene Half Rice Cake.
styling and photography Fleur Thorpe
Published: 13 Mar 2019

