
latest
habitat tv

Say goodbye to the morning scramble for keys, coats and sunglasses and hello to this… see this and more videos
blog

Reader roundup: See what our readers have been up to!
Refurbished vintage furniture, charming exteriors and magnet walls for kids. These projects are sure to… more
Try this screw-top jar storage hack!
27 Aug 2025
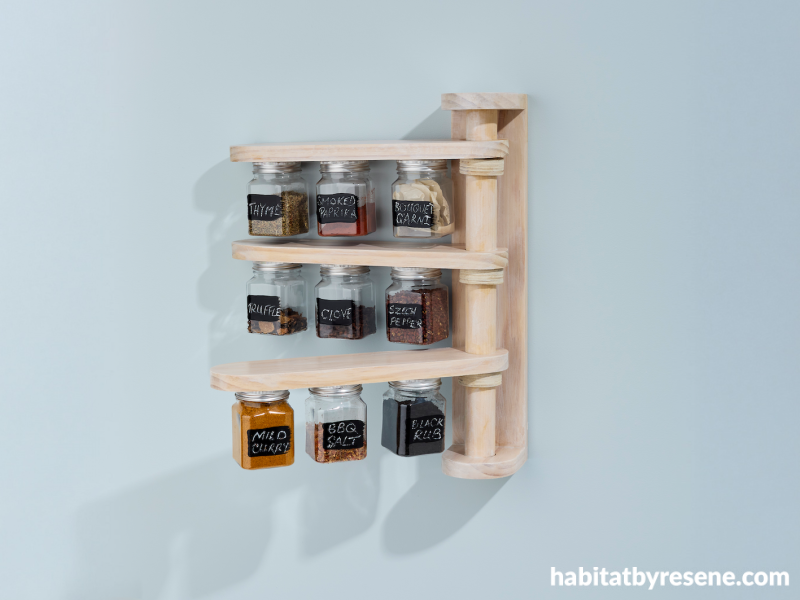
Need a simple and space-saving storage solution? This DIY screw-top jar shelf is perfect for herbs, screws, craft supplies and other small items that are always getting lost. The trick is to glue jar lids to the underside of a swing-style shelf (or any shelf you have) so your jars can be twisted on and off with ease. We gave our shelf a fresh, Scandi-inspired look using Resene Colorwood Whitewash and protected it with Resene Aquaclear satin — practical and stylish.
You will need:
· Band saw
· Sander
· Drill
· Awl tool
· Forstner drill bit (32mm)
· Hole saw (55mm)
· Compass
· Jars (we got ours from Kmart with a 60mm x 60mm lid diameter)
· Resene Colorwood Whitewash
Wooden materials
- 3x pine shelves: 300mm x 80mm x 18mm
- 2x hangers: 90mm x 90mm x 18mm
- Back bracket: 90mm x 350mm x 18mm
- Dowelling pillar: 32mm (diameter) x 360mm
- 3x round ply collars: 80mm (diameter) x 18mm with a centre hole of 32mm
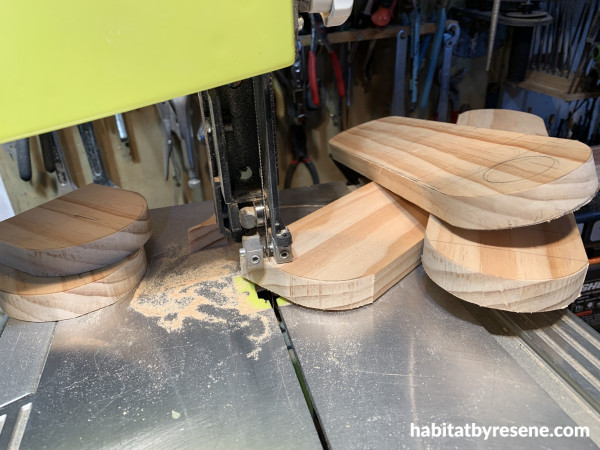
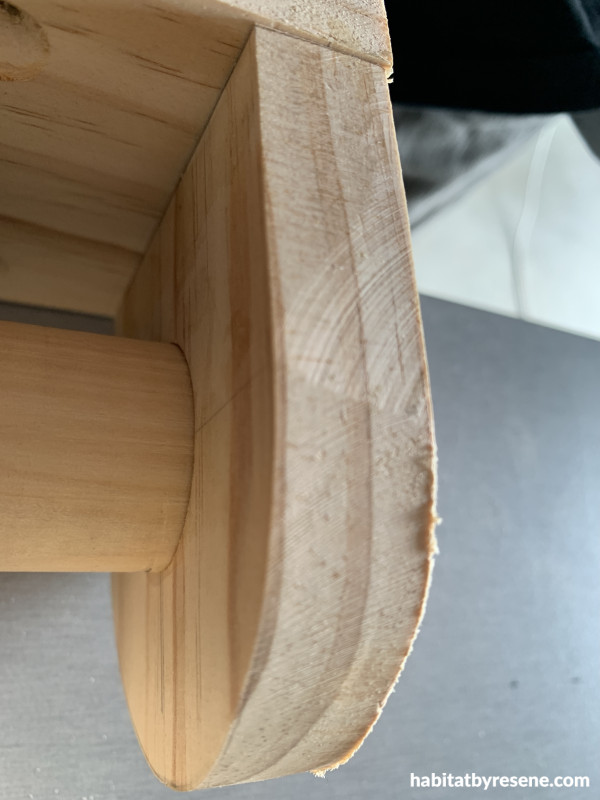
Step 1: Cut the three shelves (see measurements above) and round off the ends to a diameter of 40mm. Sand the shelves and smooth any edges.

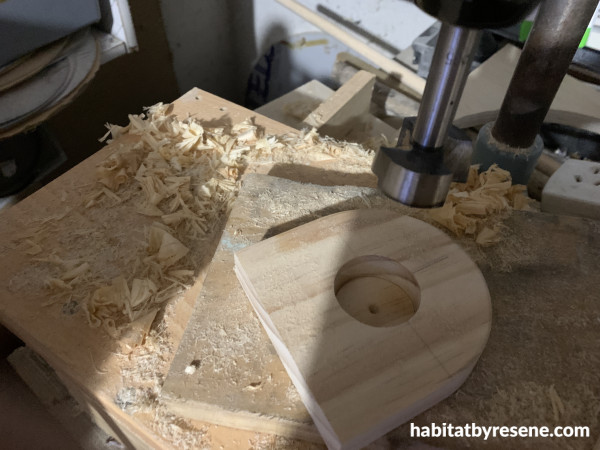
Step 2: Add a 32mm hole with the centre point 40mm from the side and from the front of the shelves.
Step 3: Cut the back bracket (see measurement above). Make four holes about 40mm from the top and bottom and counter sink it with a counter sink bit.
Step 4: Cut the top and bottom hangers (see measurement above). Round off the front ends to a diameter of 45mm and sand it round and smooth. Drill a 35mm hole up to 16mm deep for the 32mm doweling pillar.
Step 5: Cut the 32mm-diameter doweling pillar to about 360mm.

Step 6: Cut the ply collars (see measurements above). Sand to smooth edges, and clean off any sanding dust.
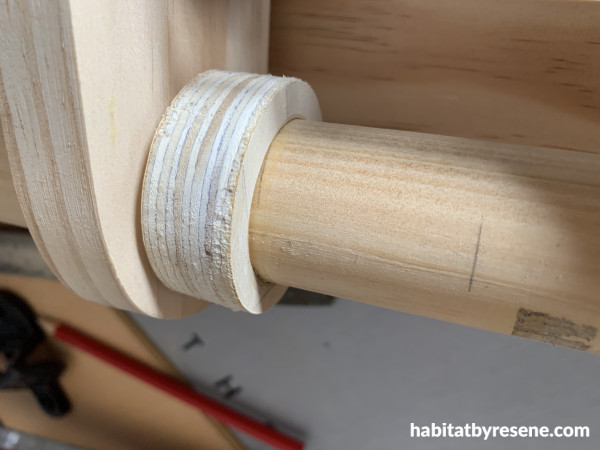
Step 7: Place the ply collars and the shelves where you would like them to sit on the dowel pillar (we spaced ours about 90mm apart). Glue the wooden ply collars in place and wait for them to completely dry before you move the shelves down to ‘sit’ on them again (the shelves will ‘swivel’ while the ply collars stay stationary).
Step 8: Add glue into the hanger holes and fix the top and bottom hangers into the dowelling pillar. Drill the hangers flush to the top and bottom face of the back bracket.
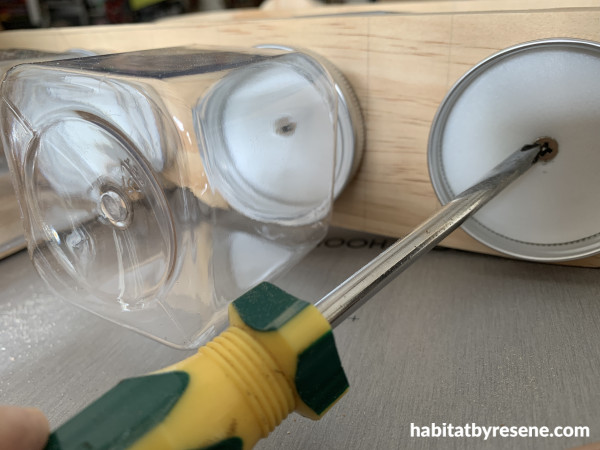
Step 9: Space the jars evenly on each shelve, and screw in the jar lids to the under-side of the shelves.
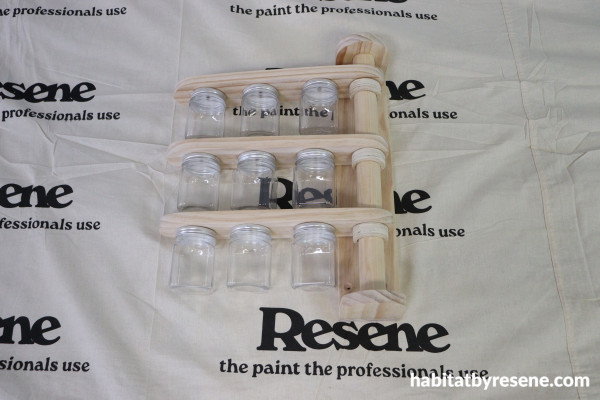
Step 10: Sand the entire project and clean off any sanding dust.
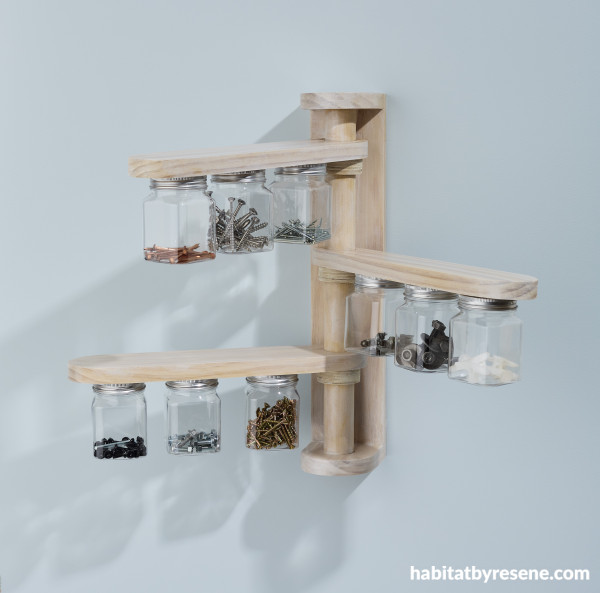
Above: Timber whitewashed in Resene Colorwood Whitewash and protected in Resene Aquaclear satin, herb jar labels painted with Resene FX Chalkboard Paint and wall painted with Resene SpaceCote Low Sheen in Resene Duck Egg Blue.
Step 11: Apply Resene Colorwood Whitewash with a brush. Allow to completely dry. Follow up with a protective coat of Resene Aquaclear Satin.
Top tip: To add labels to the jars, brush on Resene Chalkboard paint!
project Ivan Moses
styling Megan Harrison-Turner
main image Bryce Carleton
Published: 27 Aug 2025

