
latest
habitat tv

Say goodbye to the morning scramble for keys, coats and sunglasses and hello to this… see this and more videos
blog

Re-living the 1980s through art
Clint C is an artist whose work instantly sparks recognition and joy. Based in Hamilton,… more
Three spectacularly spooky and fun Halloween DIY projects
16 Oct 2025
It’s spooky season, and that means it’s time to decorate our homes and add all the little fun, frightening touches that make Halloween so enjoyable! We’ve got three creative and easy projects for you to try that will be fun for the whole family. Follow along the steps below for each, you can use the same Resene testpot colours we have, or pick out your own to make your projects unique!
Wary welcome
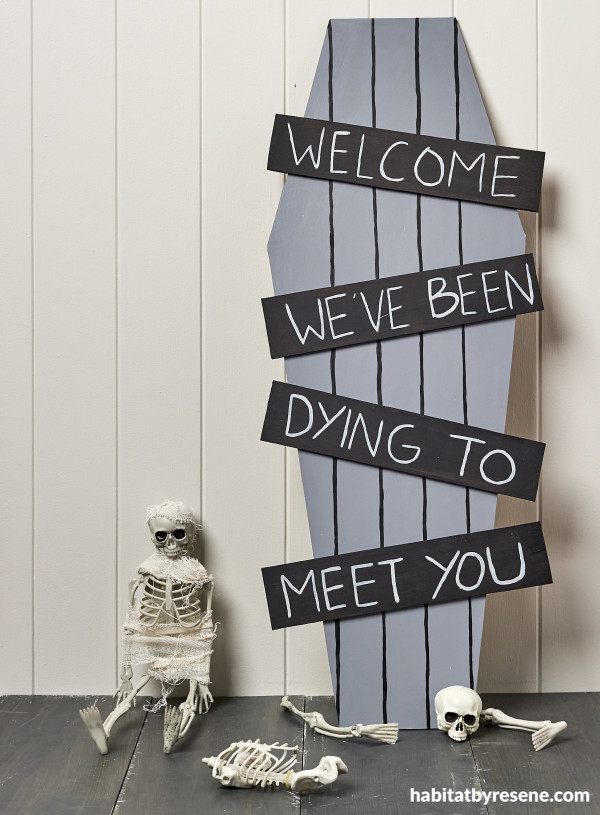
Welcome guests to your home with this coffin shaped entry sign. You can place it by your front door or letterbox too for when all the curious little trick-or-treaters come by.
You will need:
· 4mm MDF, our piece was 82cm long and 30cm wide
· 4x MDF wood for the strips, ours are 32cm long and 7cm wide
· Glue
· Paintbrush
· Fine paintbrush
· Pencil
· Jigsaw
· Ruler
· Resene testpots in your chosen colours. We used Resene Raven, Resene Black and Resene Surrender
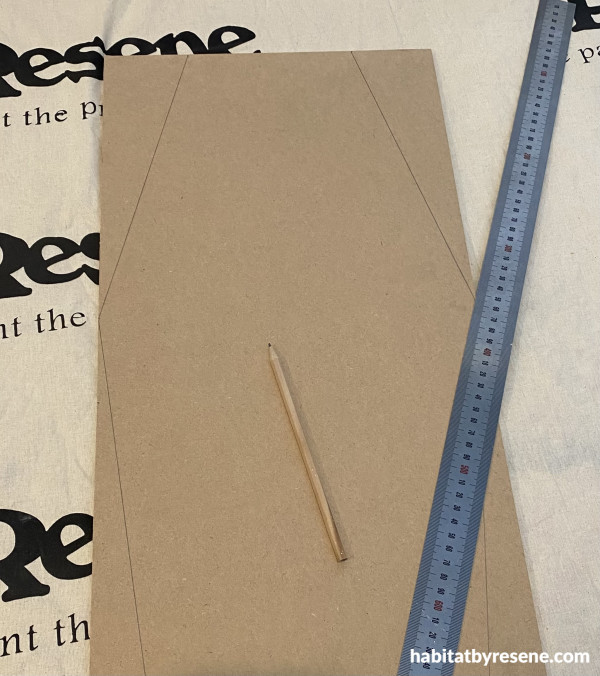
Step 1: Take your piece of MDF and draw a coffin shape onto the wood. Ours was 82cm long and 30cm wide.
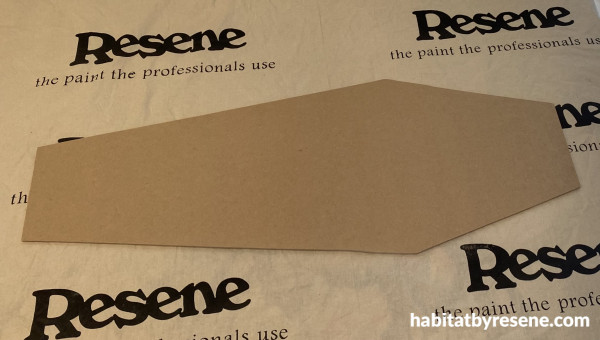
Step 2: Cut out your coffin shape using a jigsaw and smooth any rough edges with sandpaper. Wipe away any dust.
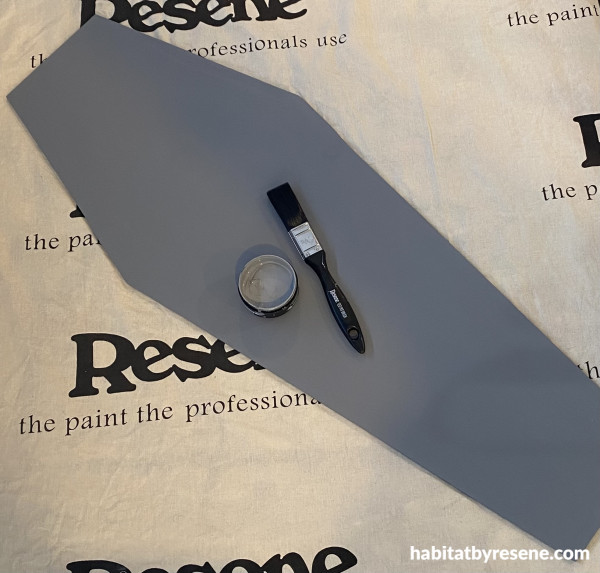
Step 3: Paint your coffin in your chosen paint colour. We used Resene Raven.
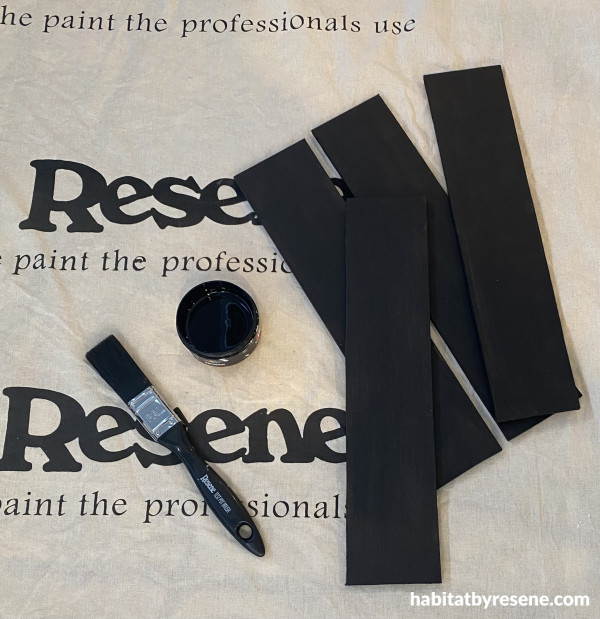
Step 4: Paint your stripes of wood in another of your chosen colours. We used Resene Black.
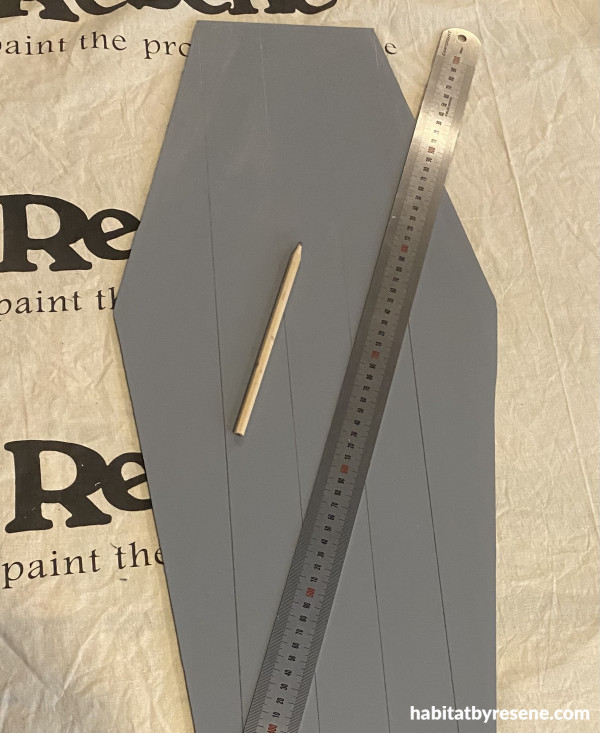
Step 5: Take your ruler and draw the lines onto the coffin ready to paint.

Step 6: Paint the thin stripes using a fine paintbrush in your chosen colour. We used Resene Black.
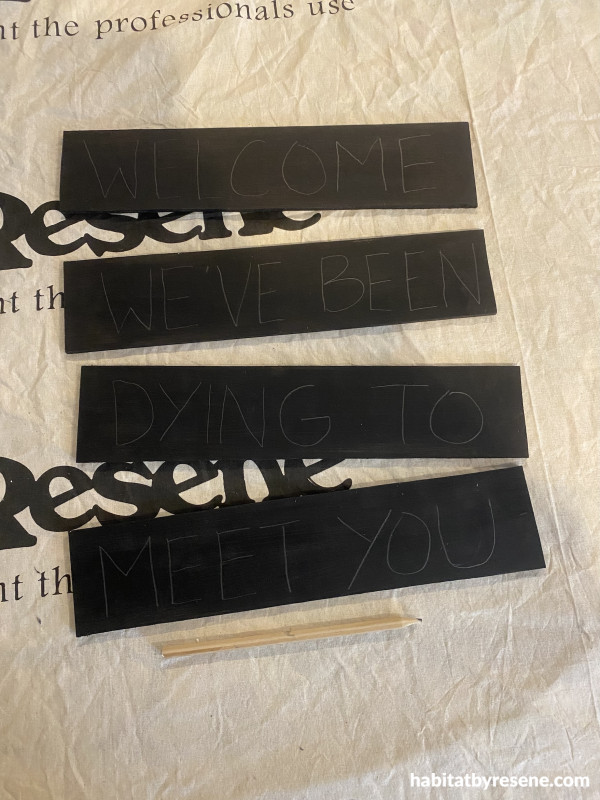
Step 7: Write the words ‘Welcome we’ve been dying to meet you’ on the painted strips.
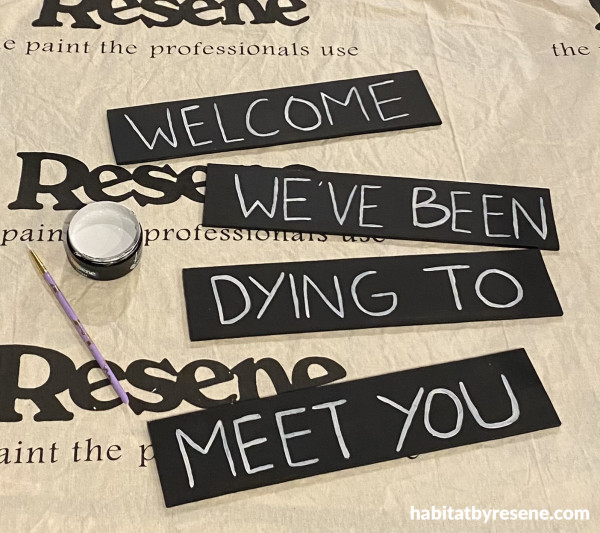
Step 8: Paint over the pencil letters in your chosen colour. We used Resene Surrender.
Step 9: Glue the strips onto the coffin and place by your front door or by letterbox.
Wall painted in Resene Double Merino. Skeletons from Look Sharp.
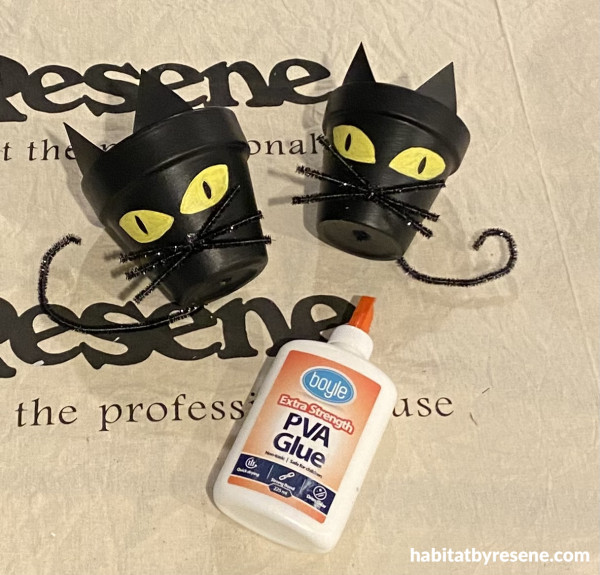
Creepy cats
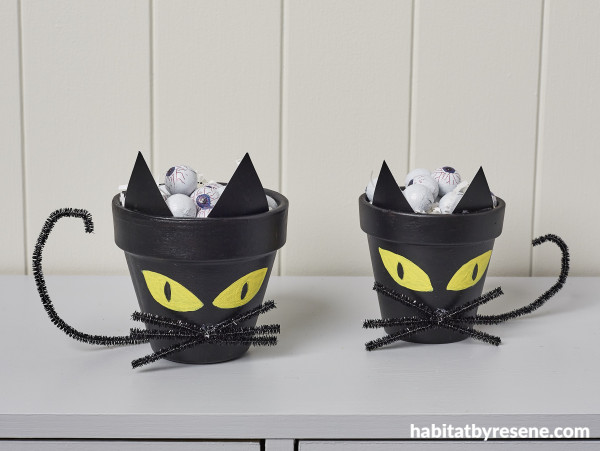
Kids will love these cute and quirky cat treat pots. These make great gifts for friends or family, and a cute decorative piece to put all the collected treat candy in!
You will need:
· 2x terracotta pots (1x 10cm and 1x 9.5cm size)
· Pipe cleaners
· Glue
· Paintbrush
· Fine paintbrush
· Cardboard
· Scissors
· Pencil
· Resene testpots in your chosen shades. We used Resene Black and Resene Quarter Turbo
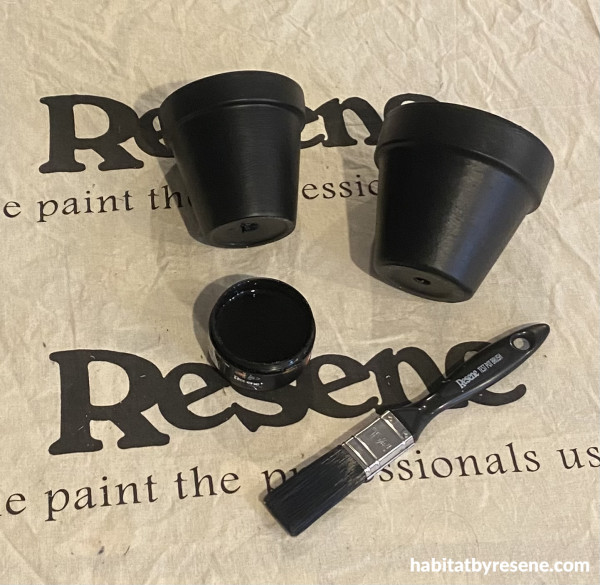
Step 1: Paint your two pots in your chosen Resene colour. We used Resene Black for your typical ‘spooky black cat’. You will need two coats for best coverage.

Step 2: Paint your piece of cardboard for the ears in your chosen shade. We used Resene Black to match our pots.
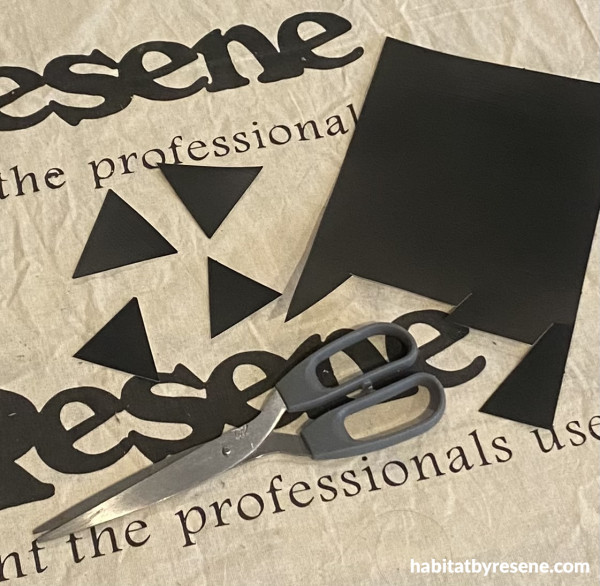
Step 3: Cut triangle pieces out of the painted cardboard for the cats’ ears.
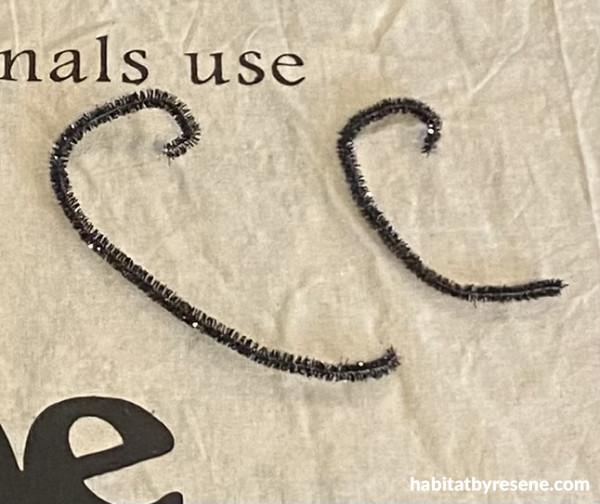
Step 4: Cut the pipe cleaners in half and curl the ends for the tail.
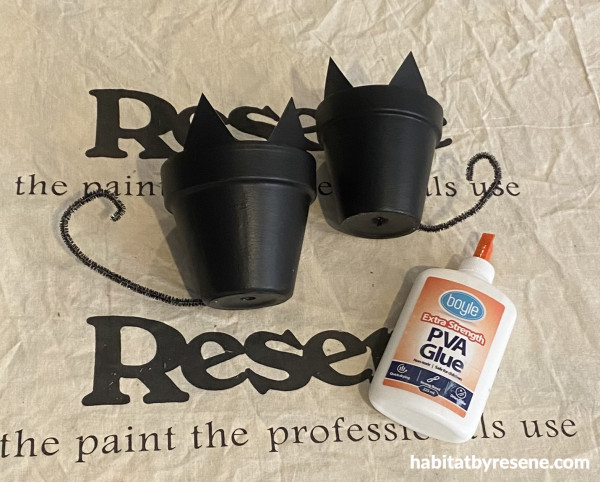
Step 5: Glue the cardboard ears and pipe cleaner tails onto the pots.
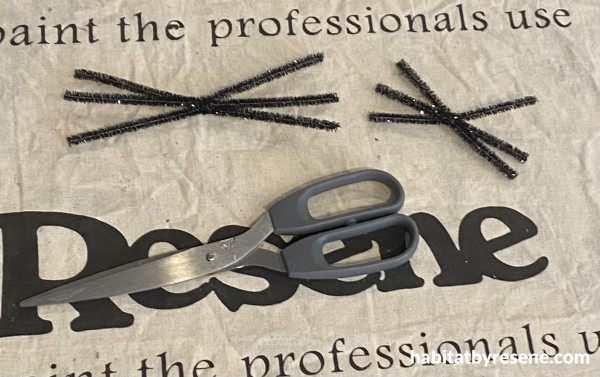
Step 6: Take three pipe cleaners and cut them in half. Then take three of the cut pipe cleaners and twist another one around the middle to make the whiskers. Repeat for the second lot of whiskers.
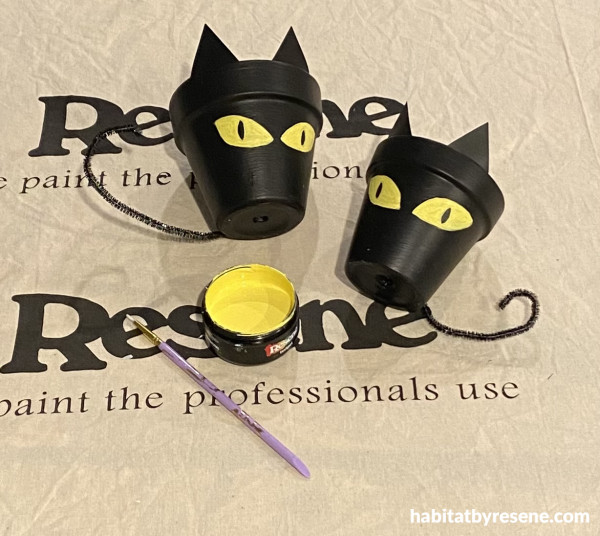
Step 7: Paint the eyes onto the pots in your chosen colour. We used Resene Quarter Turbo.
Step 8: Glue on the whiskers.
Step 9: Fill your cat pots with treats and enjoy.
Wall painted in Resene Double Merino, console table in Resene Double Concrete.
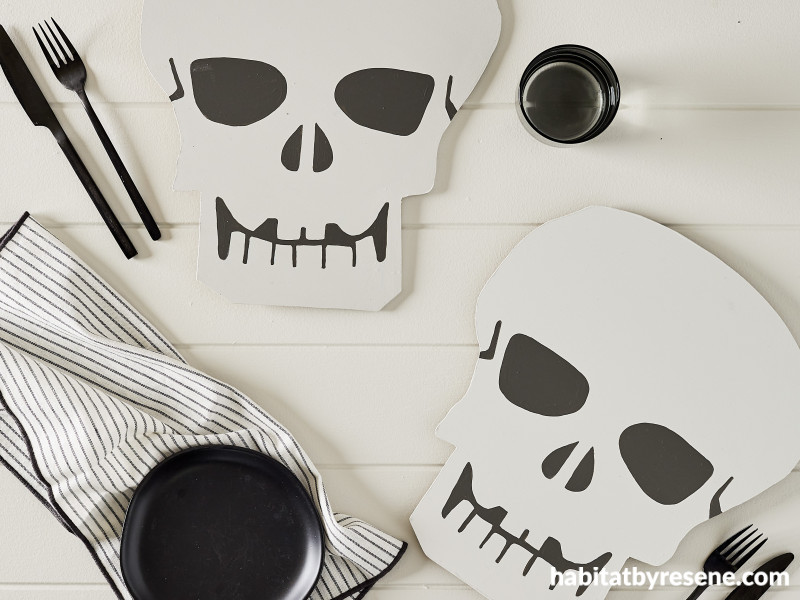
Scary skulls
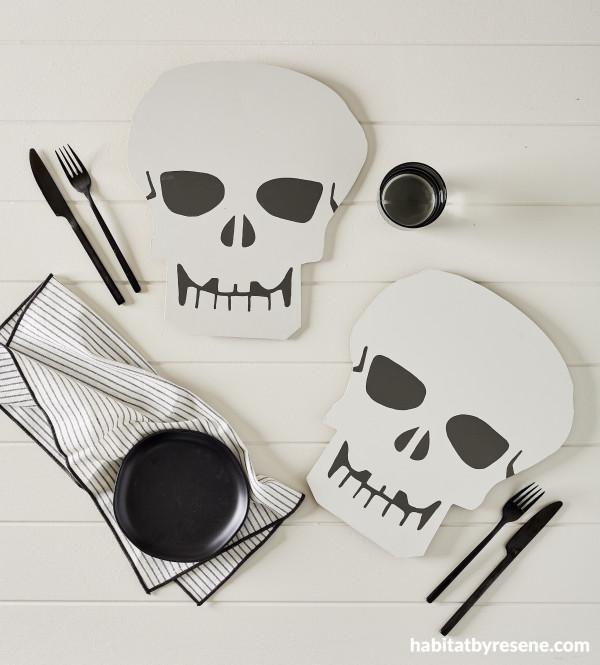
If you prefer a minimalist or neutral design at home, that doesn’t mean you have to miss out on all the fun festivities or creative projects. Just get your favourite neutral toned Resene testpots, instead of bold brights, and try one of our fun DIYs, like these skull placemats. These will add a great touch to your Halloween dinner party this month!
You will need:
· MDF board is 4mm thick
· Paintbrush
· Fine paintbrush
· Pencil
· Resene testpots in your chosen colours. We used Resene Quill Grey and Resene Dune
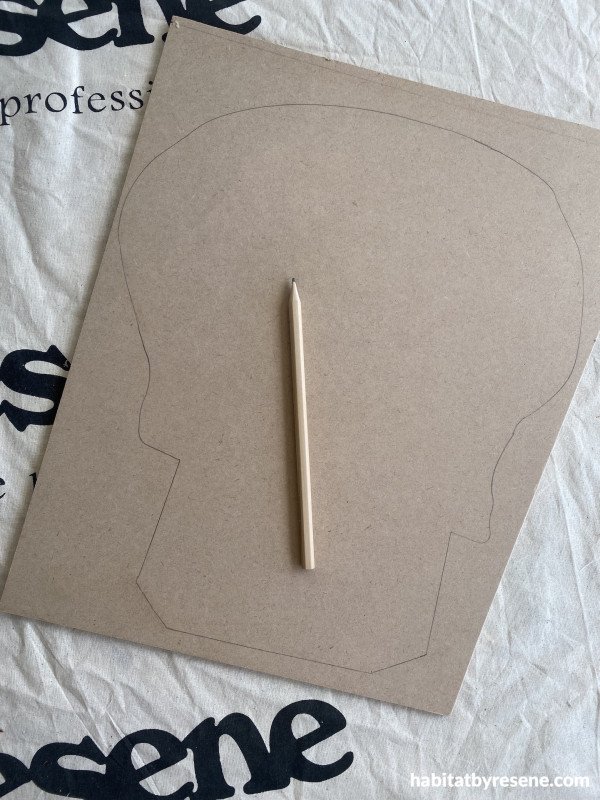
Step 1: Take your piece of MDF and draw your skull shape out onto the board in pencil. Our skull is 29.5cm wide and 34cm long.
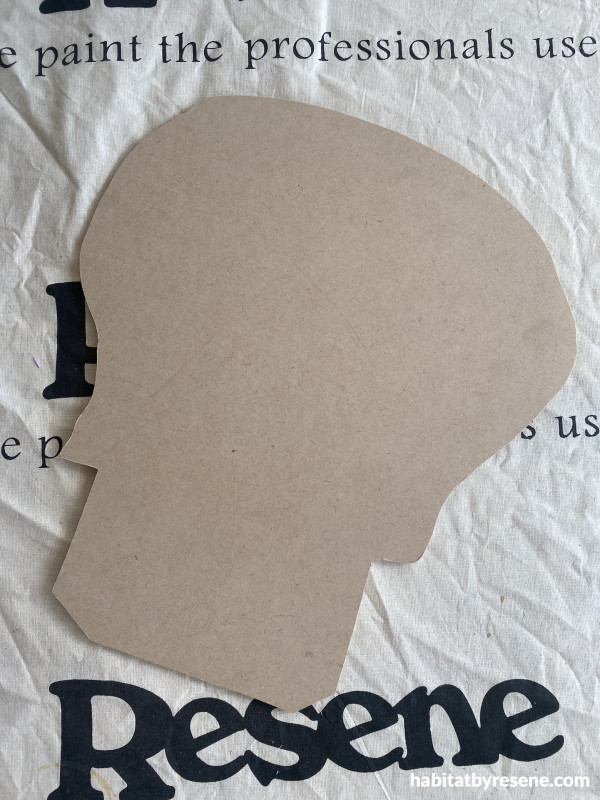
Step 2: Using a jigsaw cut out the skull shape. Sand any rough edges with sandpaper and wipe away the dust.

Step 3: Paint your skull in two coats of your chosen paint colour. We used Resene Quill Grey.
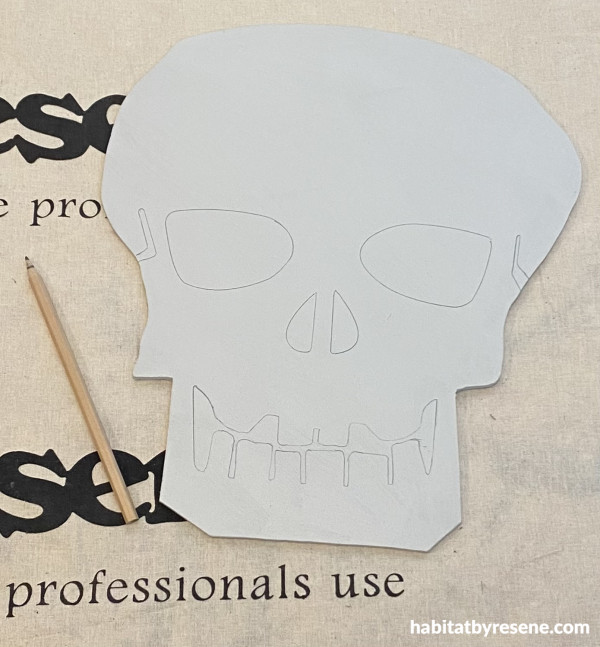
Step 4: Using a pencil draw the skull face details onto your painted placemat.
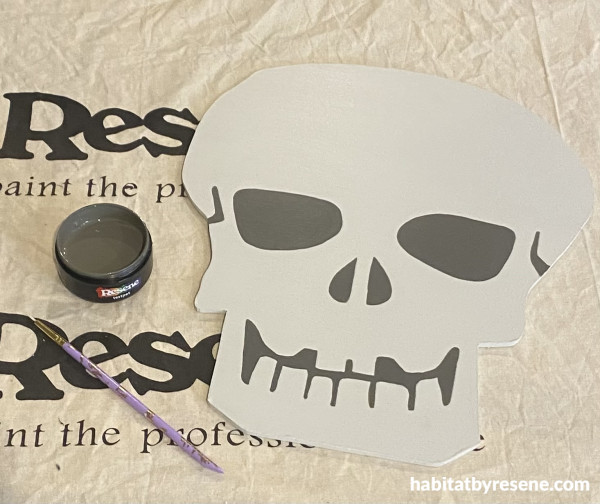
Step 5: Using a fine paintbrush, paint the face details in your chosen colour. We used Resene Dune.
Step 6: Put your placemats on your table on Halloween night or for your Halloween dinner party paired with any other fun and creative additions you have.
Table painted in Resene Double Merino. Grey glass from The Warehouse, striped napkins from Kmart.
projects Vanessa Nouwens
images Bryce Carleton
Published: 16 Oct 2025

