
latest
habitat tv

Say goodbye to the morning scramble for keys, coats and sunglasses and hello to this… see this and more videos
blog

Re-living the 1980s through art
Clint C is an artist whose work instantly sparks recognition and joy. Based in Hamilton,… more

School holiday boredom busters
24 Jun 2025
Worried about the dreaded winter days with the kids stuck inside? Or even getting them to go outside when the sun is out? We’ve got your back! These easy, do-in-a-day projects will keep the kids busy, and they will have lots of fun with the finished products too!
Eggstremely cute mushrooms
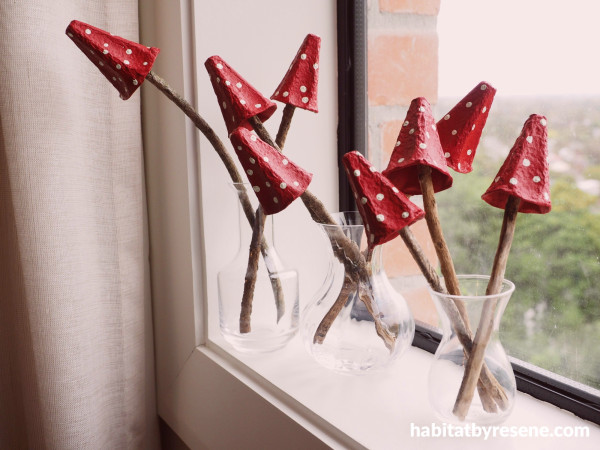
This is a great little project for preschoolers or school age children – but they really are fun for all ages too. Mushrooms are weird and wonderful, and this project is a great chance to use your favourite most colourful Resene testpot colours. You could even put them in some pot plants inside or outside – as long as they don’t get too wet!
You will need:
- Egg cartons
- Scissors
- Paintbrush
- Bamboo skewer
- Sticks
- Hot glue gun
- Resene testpot colours of your children’s choice. Fleur used Resene Red Berry and Resene Coconut Cream
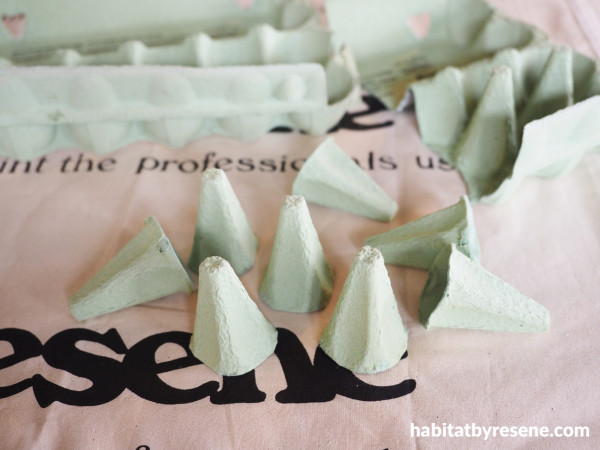
Step 1: Use some scissors to cut the pointy middle parts out of an egg carton.
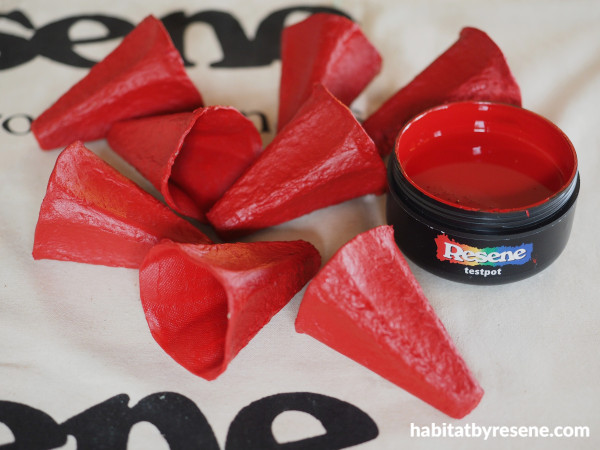
Step 2: Paint these with one coat of your chosen Resene colour. Fleur used Resene Red Berry.
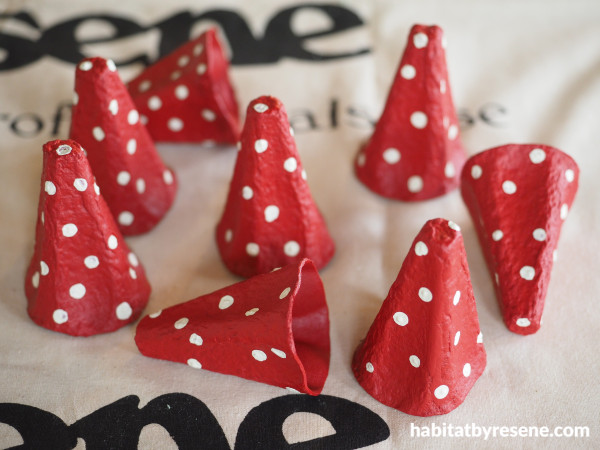
Step 3: Use the blunt end of a bamboo skewer or a cotton bud to add spots in a contrasting colour of your choice. Fleur used Resene Coconut Cream.
Step 4: Use a hot glue gun to glue a stick into each of the mushrooms.
Trim painted in Resene Half Rice Cake.
Step up your game
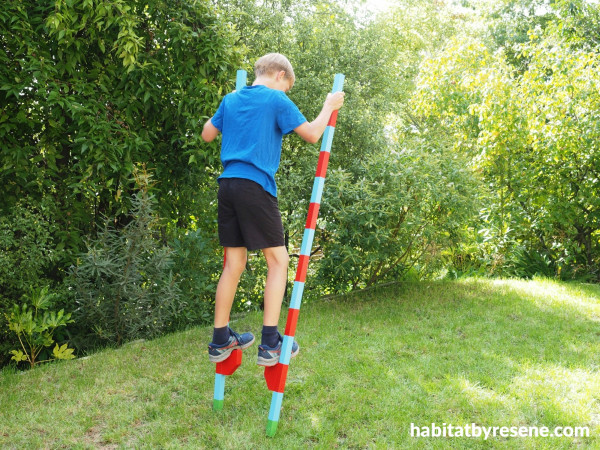
A childhood favourite for many, stilts can create hours of fun and joy around the yard. These homemade stilts mean the kids can personalise their own and treasure them for years to come. You can also make them taller or shorter depending on their age.
You will need:
- 2x untreated pine wood, 40mm x 32mm x 1.8m long
- 2x untreated pine wood 135mm long x 100mm wide x 34mm thick
- Saw
- Sandpaper
- Paintbrush
- Resene Quick Dry
- Wood glue
- Electric drill and screws
- Measuring tape
- Painters tape
- Resene testpot paints in your kids’ favourite colours. Fleur used Resene Shakespeare, Resene Bullseye and Resene Bilbao
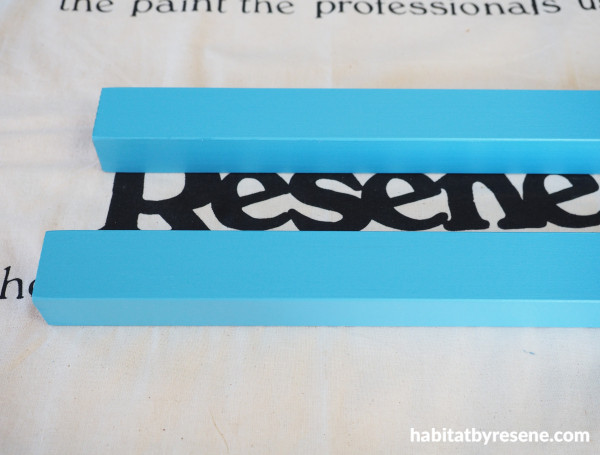
Step 1: Start by sanding down the sharp corner edges of the two 1.8m pine wood so that they are nicer to grip on to with hands. Wipe off any dust. Prime the wood lengths with one coat of Resene Quick Dry, and once this is dry, paint with two coats of your chosen Resene colour – Fleur used Resene Shakespeare.
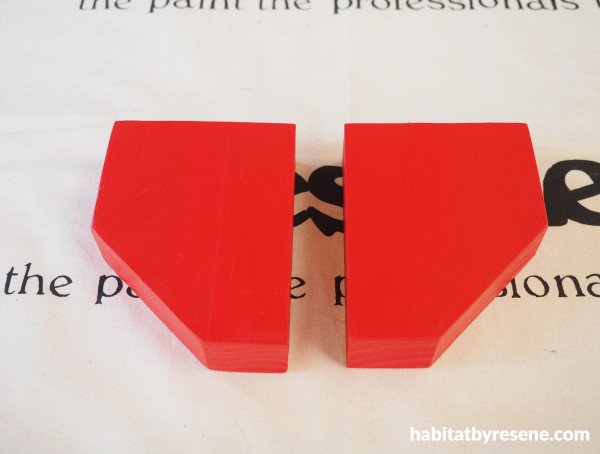
Step 2: Cut two wedge shaped blocks from 34mm thick pine wood. Fleur’s are 135mm long by 100mm wide with an angle cut off at the bottom corner. Wipe off any dust and prime with more Resene Quick Dry. Paint with two coats of another of your chosen paint colours – Fleur used Resene Bullseye.
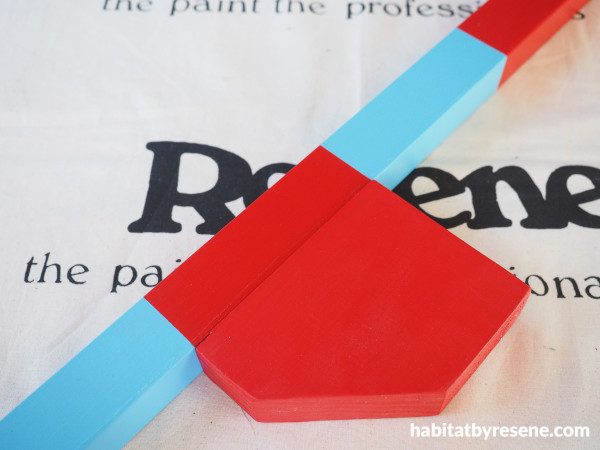
Step 3: Attach the wedges to the 1.8m uprights with wood glue and 4 long screws. Attach the wedges wherever you like, depending on how high (and challenging) you want your stilts to be. Fleur placed the top of the wedges 34cm up from the bottom of the stilts. Use a measuring tape and painters tape to measure out equally spaced stripes which are the same length as your wedges. Fleur’s wedges are 135mm long so her stripes are 135mm long. Paint every alternate stripe with another bright hue of your choice – Fleur used Resene Bullseye.
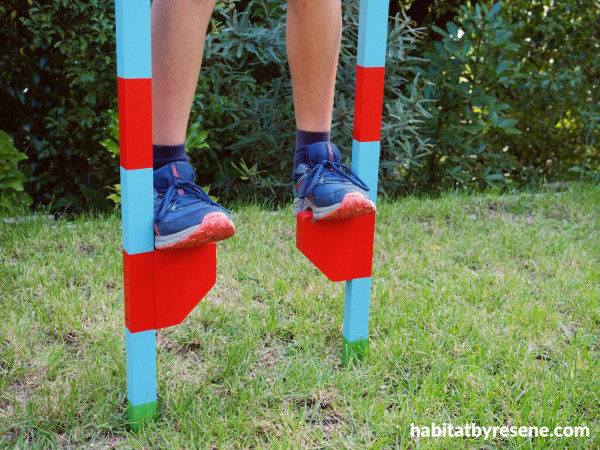
Step 4: If you have a bit of length left over that isn’t enough to make a full 135mm long stripe, you could paint it a different colour like Fleur did on the bottom of her stilts in Resene Bilbao.
projects and images Fleur Thorpe
Published: 24 Jun 2025

