
latest
habitat tv

Say goodbye to the morning scramble for keys, coats and sunglasses and hello to this… see this and more videos
blog

Reader roundup: See what our readers have been up to!
Refurbished vintage furniture, charming exteriors and magnet walls for kids. These projects are sure to… more
Create a rustic outdoor wine glass holder
27 Aug 2025
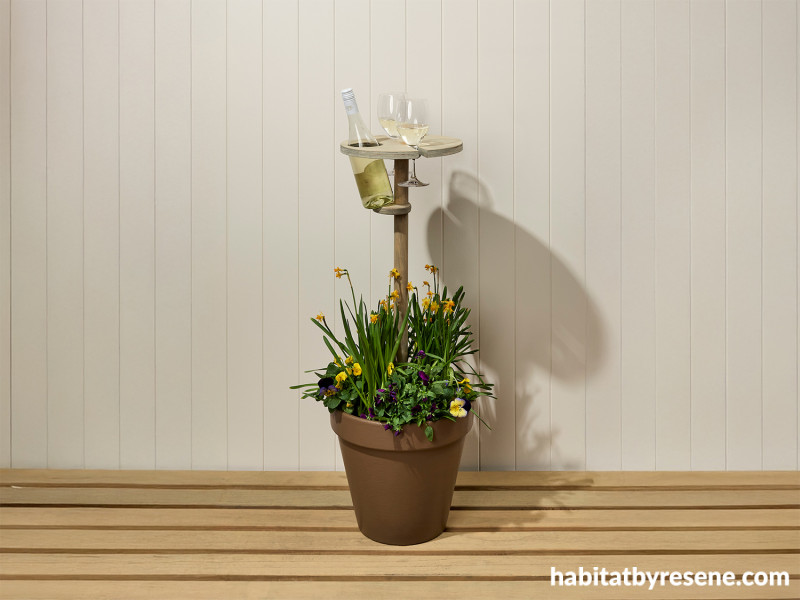
Add handmade charm to your next gathering with this rustic-chic DIY wine holder. Made from timber, a terracotta pot and concrete mix, it’s finished with Resene paint and Resene Woodsman Cedar Natural Wood Oil for a warm, natural look. Topped off with fresh blooms or foliage, this upcycled project is perfect for outdoor entertaining with a personal, sustainable touch.
You will need:
- Jig saw or band saw
- Drill
- Twist drill
- 40mm holesaw
- 35mm Forstner drill bit
- 10mm twist drill
- Wood glue
- Terracotta pot
- Quick dry concrete mix
- Resene testpot – we used Resene Brown Bramble
- Resene Woodsman Cedar Natural Wood Oil – we used Resene Paparoa
- Foliage – we used daffodils and pansies
Materials
- 400mm x 400mm x 18mm plywood (for tabletop)
- 35mm x 1000mm pine stand
- 2x 40mm x 18mm plywood discs
- 10mm x 50mm dowel

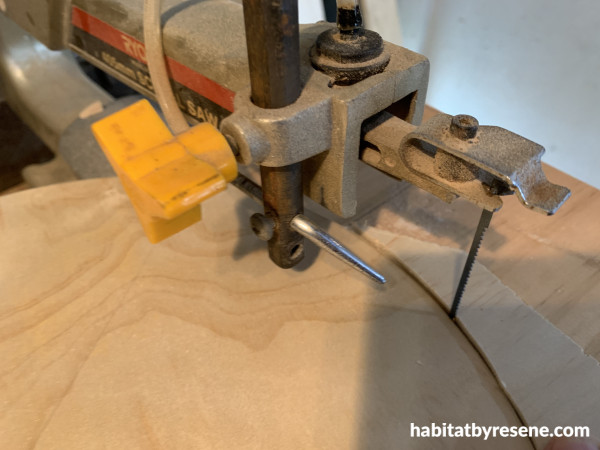
Step 1: Measure disc of 300mm x 18mm plywood disc with a jig saw or band saw, which will become your ‘tabletop’.
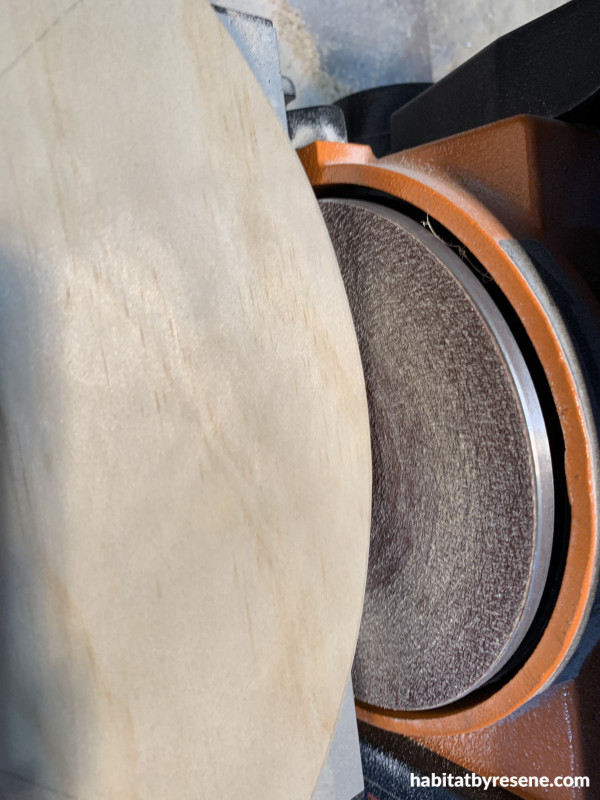
Step 2: Sand the edges to smooth. Clean off sanding dust.
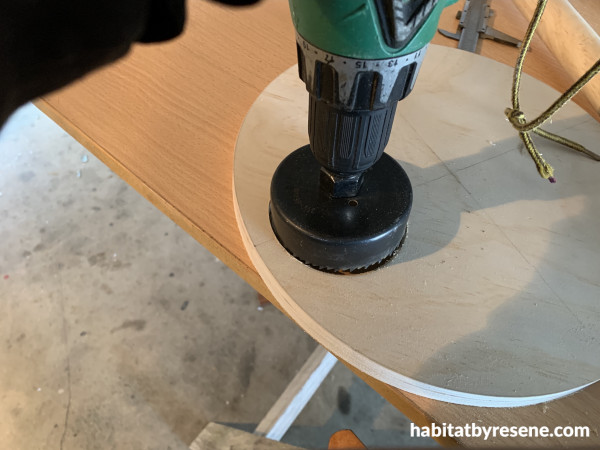
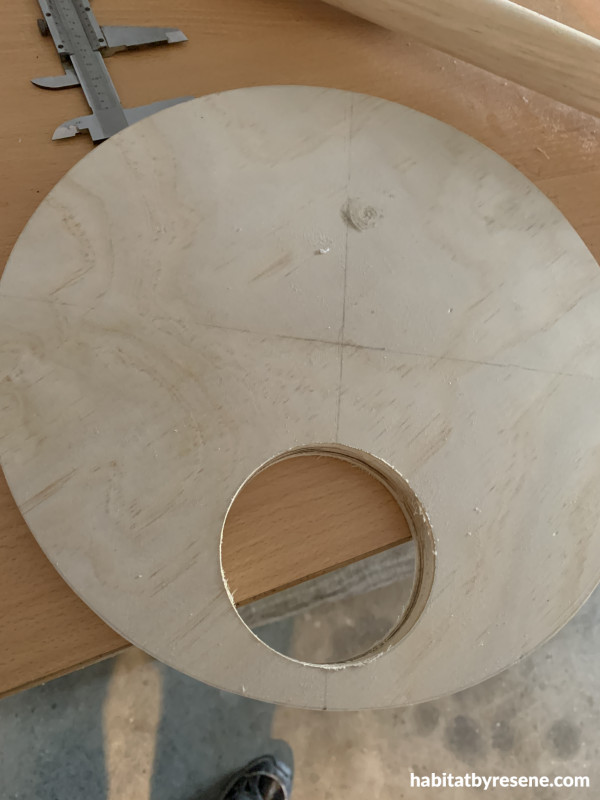
Step 3: Mark the middle point of the tabletop. Mark 65mm out from the centre point and draw a circle with a diameter of 100mm. Use a holesaw and cut the 100mm circle from the tabletop.
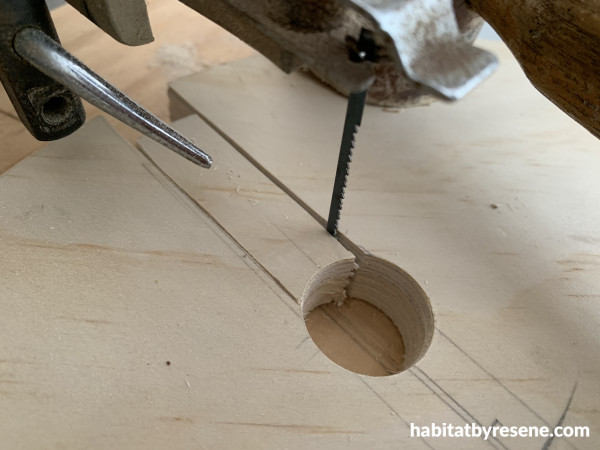
Step 4: Mark two lines of 8mm on each side of the remaining centre line. Measure 80mm from the edge of the tabletop and drill a 20mm circle. Cut out the 8mm lines to leave a slit of 16mm towards the 20mm hole on each side for the two glasses.
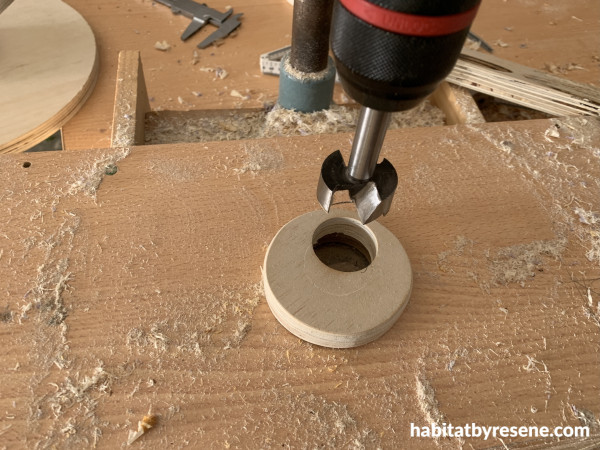
Step 5: Take one of the 40mm x 18mm plywood discs. Measure 15mm from the side of this disc and make an off-centre 32mm hole, which will slide onto the centre pine stand and create the support for the bottom of the wine bottle. Place this ‘bottle rest’ disc about 180mm from the tabletop (check with a bottle of wine you have on-hand), then glue this disc into place on the centre pine stand.
Step 6: Take the second 40mm x 18mm plywood disc. Drill a 32mm hole in the centre of the disc, which will slide onto the centre pine dowel to support the tabletop.
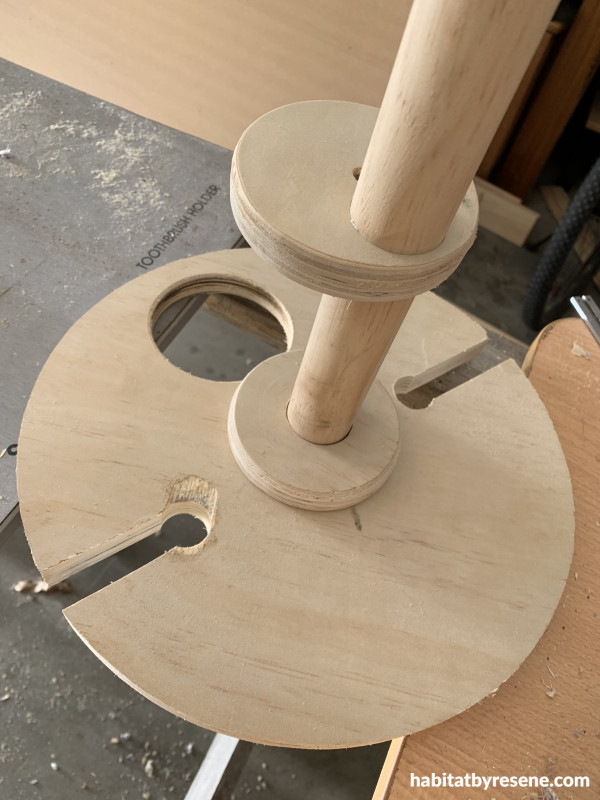
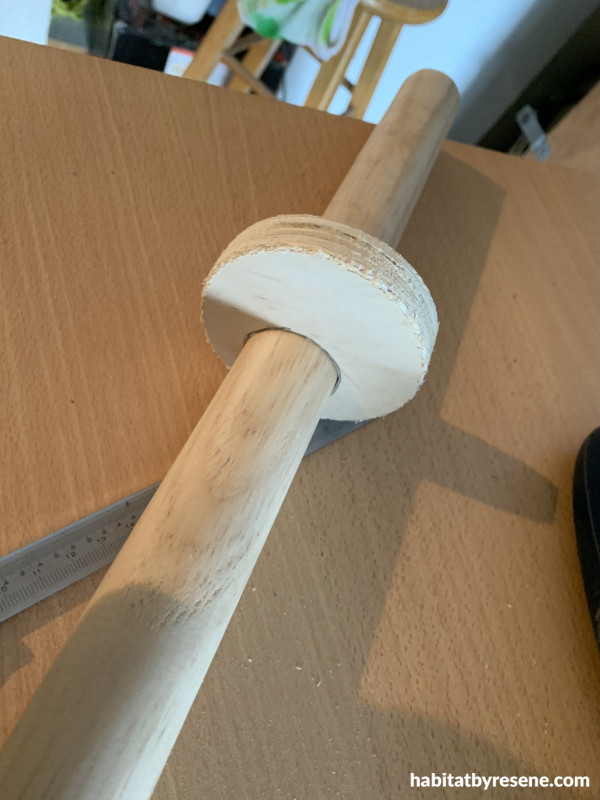
Step 7: Drill a 10mm hole into the top of the pine stand, and insert the 10mm x 50mm piece of doweling into the hole (this will help strengthen and stabilise the tabletop).
Step 8: Place the remaining disc onto the top of the pine stand and glue in place.
Step 9: Glue the tabletop onto the pine stand.
Step 10: Sand the entire project to smooth edges, then clean up the sanding dust.
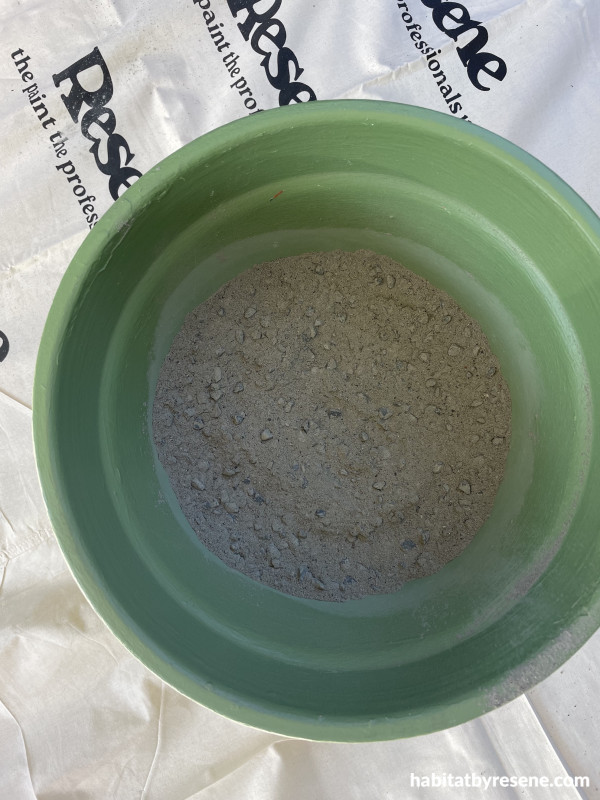
Step 11: Half-fill a terracotta pot with Quick Set concrete mix.
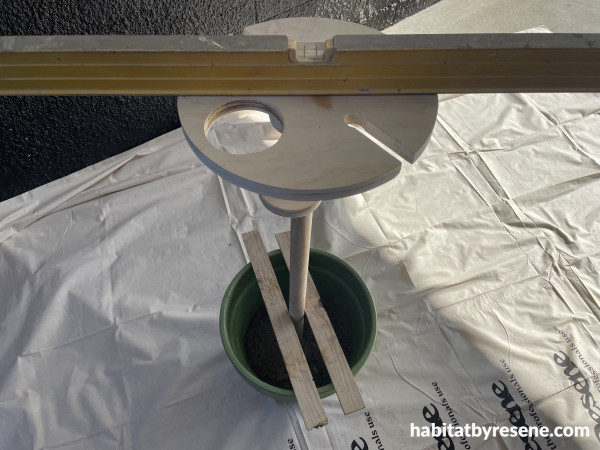
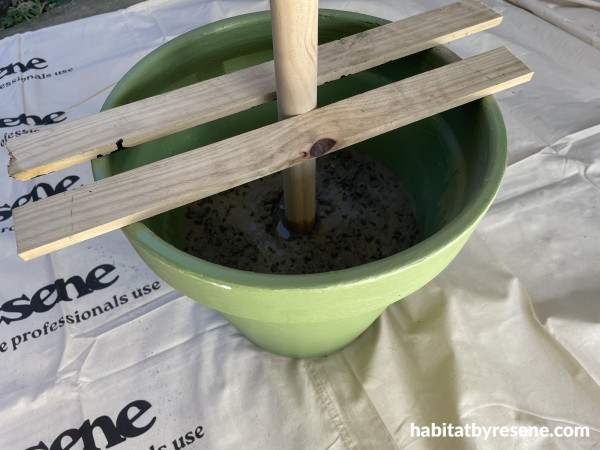
Step 12: Place the ‘stand’ into the concrete mix, ensuring your tabletop is level. Pour water (see instructions on the concrete mix packaging for the amount) and secure the stand in place while the concrete sets.
Step 13: Paint the terracotta pot in two coats of a Resene testpot colour of your choice, allowing to dry between coats.
Step 14: Using a Resene testpot brush or rag, stain the stand and tabletop wood in Resene Woodsman Paparoa. Allow to dry.
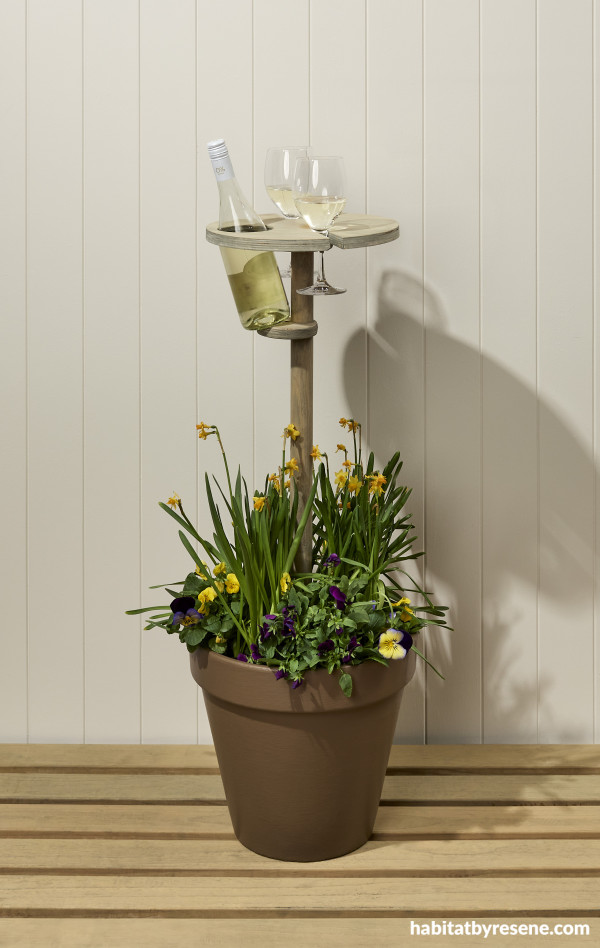
Step 15: Let’s style it! Fill the terracotta pot with potting mix and add your favourite foliage or flowers. Enjoy!
Above: Terracotta pot painted in Resene Brown Bramble, wooden wine stand stained in Resene Woodsman Cedar Natural Wood Oil Paparoa, wall in Resene Half Fossil and decking in Resene Woodsman Uluru.
project Ivan Moses, Pamela McIntosh
main image Bryce Carleton
Published: 27 Aug 2025

