
latest
habitat tv

Say goodbye to the morning scramble for keys, coats and sunglasses and hello to this… see this and more videos
blog

Re-living the 1980s through art
Clint C is an artist whose work instantly sparks recognition and joy. Based in Hamilton,… more
Make your own frightfully fabulous scarecrow
29 Aug 2025
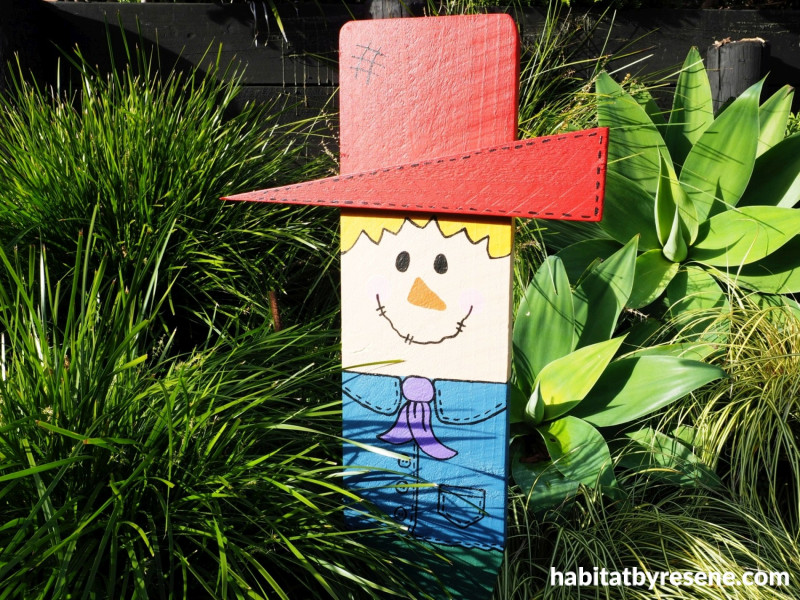
As we near Spring, our beautiful gardens begin to bloom with flowers and vegetables, and we don’t want to those pesky birds picking away at them. Scarecrows are often made for tricking birds into thinking there is a person around so they don’t bother the garden, and although this isn’t fully guaranteed to do the trick, it sure will make your garden look pretty!
You will need:
- H3 treated pine board, 1m long x 25mm thick x 200mm wide
- Measuring tape
- Pencil
- Ruler
- Saw
- Sandpaper
- Resene Quick Dry
- Paintbrush, including a thin craft paintbrush
- Electric drill and screws
- Resene testpots in your chosen colours. Fleur used Resene Red Berry, Resene Alamo, Resene Wanaka, Resene Bush, Resene Pirate Gold, Resene Fire, Resene Glamour Puss, Resene Kingfisher Daisy and Resene Black
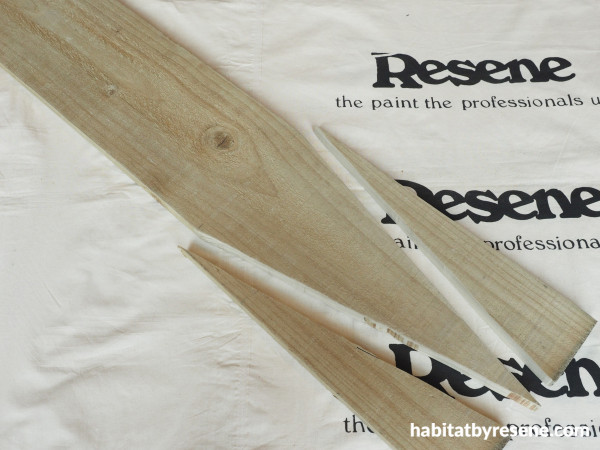
Step 1: Start by measuring 60cm down from the top of the board. Make a mark, then at the bottom of the board, measure and mark the middle of the width of the board. Draw a line between these two marks and use a saw to cut along the line. Do the same with the other side, forming a point at the bottom of the board. Then, use a saw to round off the two corners at the top of the board, sand all the rough edges smooth and wipe away and dust. Prime the board with a coat of Resene Quick Dry.
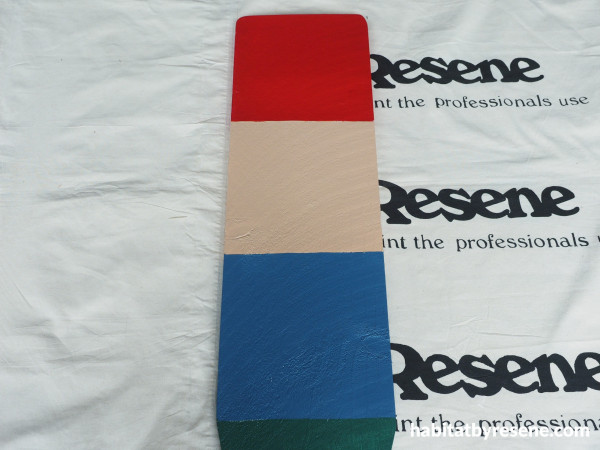
Step 2: Measure down from the top of the board and make a mark at 20cm, 40cm and 60cm. Choose your Resene paint colours for each of these sections. Fleur painted the top 20cm in two coats of Resene Red Berry (the hat), the second 20cm in Resene Alamo (the face), the third 20cm in Resene Wanaka (the jacket) and the remaining bottom pointy end of the board with Resene Bush.
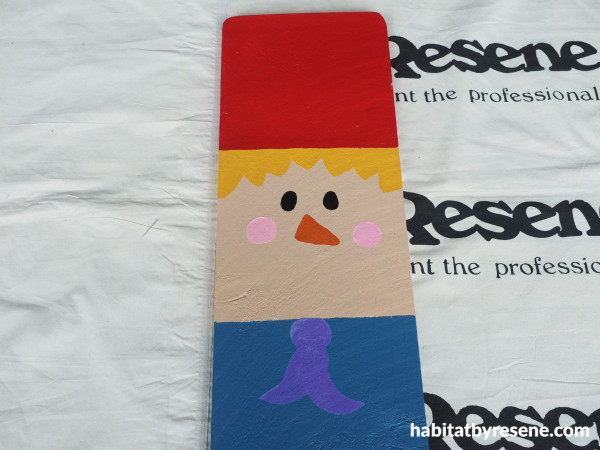
Step 3: With more of your chosen Resene paint colours, paint the features onto your scarecrow. Fleur painted the scarecrow’s hair in Resene Pirate Gold, the eyes in Resene Black, the nose in Resene Fire, the cheeks in Resene Glamour Puss and the neck tie in Resene Kingfisher Daisy.
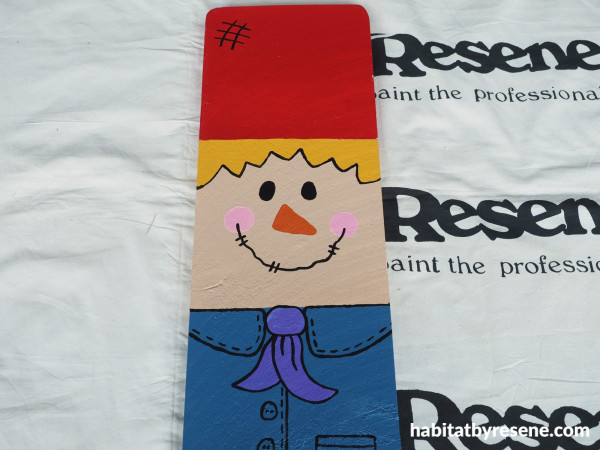
Step 4: Finish by outlining and adding more detail using a thin paintbrush and another of your chosen Resene colours. A dark colour is probably best for these outlines, like Fleur has done in Resene Black.

Step 5: Take one of the angled pieces that were cut off the bottom at the start, prime this with Resene Quick Dry and paint it with two coats of your chosen Resene colour. Fleur used Resene Red Berry. Once dry, screw this on to the scarecrow to form the brim for the hat. Bang the scarecrow into the ground with a hammer in your chosen location.
Retaining wall stained in Resene Woodsman Pitch Black.
project and images Fleur Thorpe
Published: 29 Aug 2025

