
latest
habitat tv

Say goodbye to the morning scramble for keys, coats and sunglasses and hello to this… see this and more videos
blog

Re-living the 1980s through art
Clint C is an artist whose work instantly sparks recognition and joy. Based in Hamilton,… more
Easy DIY side tables to spruce up your interior
04 Nov 2025
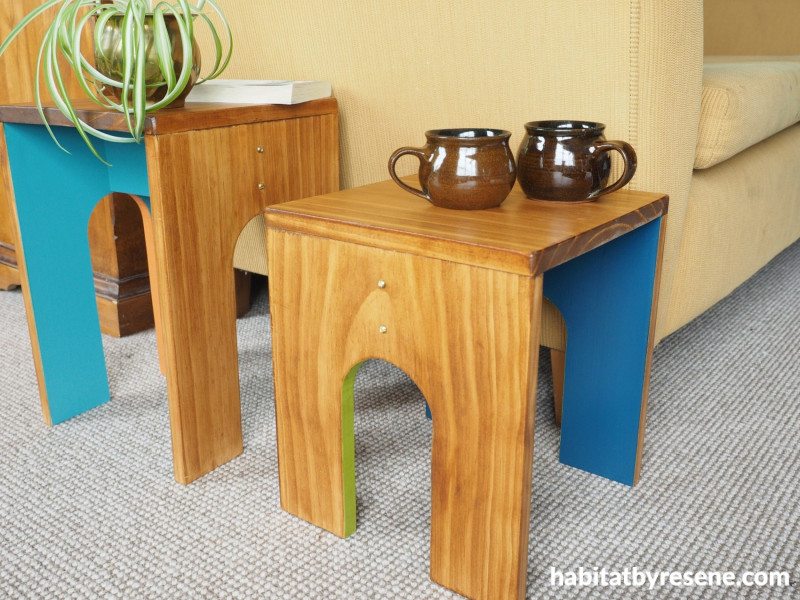
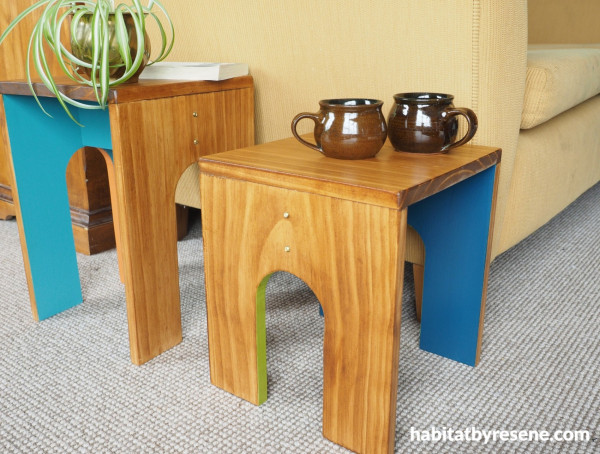
Furniture can be expensive to buy, but the good news is, it’s easier than you think to make your own. Like these side tables made with pine board. The best part about making your own too, is that you can choose your favourite Resene testpot colours and make them one-of-a-kind, just for you and your home. Follow along the steps below to make yours!
You will need:
- 1x untreated pine board 280mm wide x 18mm thick x 1.2m long
- Saw
- Jig saw
- Sand paper
- Pocket hole jig
- Electric drill
- Wood glue
- Hole filler
- Paintbrush
- Resene Quick Dry
- Resene paint colours of your choice. Fleur used Resene Billabong and Resene Grass Hopper
- Resene Colorwood wood stain in the shade Resene Walnut
- Resene Aquaclear in a satin finish
- Brass screws
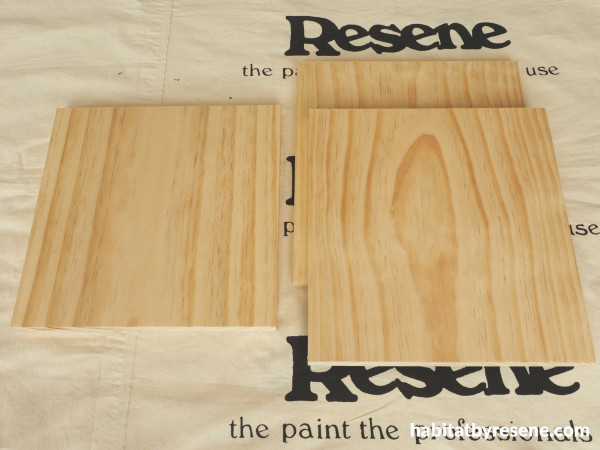
Step 1: Start by using a saw to cut the pine board to length – 280mm long for the top (so that it’s a square 280mm x 280mm), and cut two legs at the height that you want (Fleur’s are 300mm long).

Step 2: Use a jig saw to cut out an arch that is 100mm wide and 200mm tall on both of the legs. Sand all edges smooth and wipe away any dust.
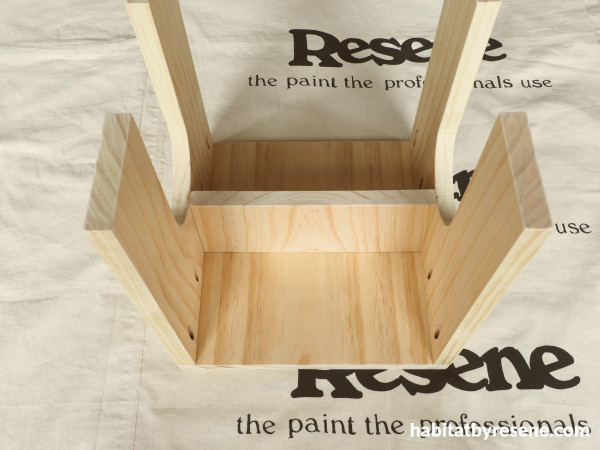
Step 3: Use a Pocket Hole Jig to drill holes along the top edge of both legs, and then with wood glue and screws, attach the legs to the bottom of the top. If you don’t have a Pocket Hole Jig, drive the screws in on an angle and make sure that they don’t come out through the top. Cut a piece of board to be a cross support that is 100mm deep and 245mm long, and glue this to the bottom of the top between the two legs. Fill the screw holes in with some hole filler and sand these smooth once dry.
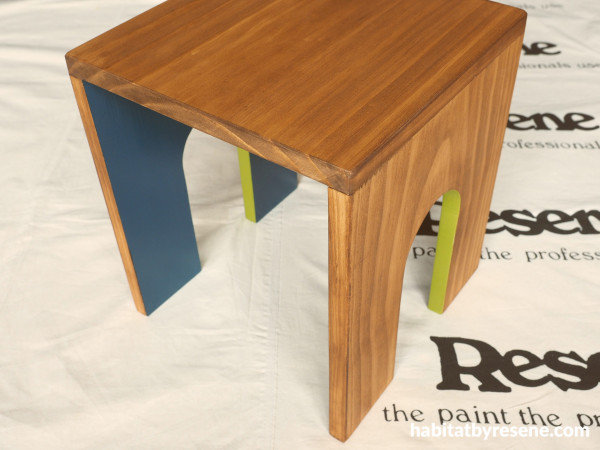
Step 4: Prime all the inside and underneath surfaces of the table with one coat of Resene Quick Dry. Once the primer is dry, paint the inside with two coats of your chosen colours. Fleur used Resene Billabong, and Resene Grass Hopper for the inside arches. Stain all the outside surfaces with one or two coats of Resene Colorwood in your chosen shade – Fleur used Resene Walnut.
Step 5: Finish by sealing the stained wood with two coats of Resene Aquaclear in a satin finish, and add two brass screws above each arch that drill into the cross support.
Paint colours on the other table are Resene Ming and Resene Alert Tan.
project and images Fleur Thorpe
Published: 04 Nov 2025

