
latest
habitat tv

Say goodbye to the morning scramble for keys, coats and sunglasses and hello to this… see this and more videos
blog

Reader roundup: See what our readers have been up to!
Refurbished vintage furniture, charming exteriors and magnet walls for kids. These projects are sure to… more
Easy DIY: Fold out bar
26 Feb 2018
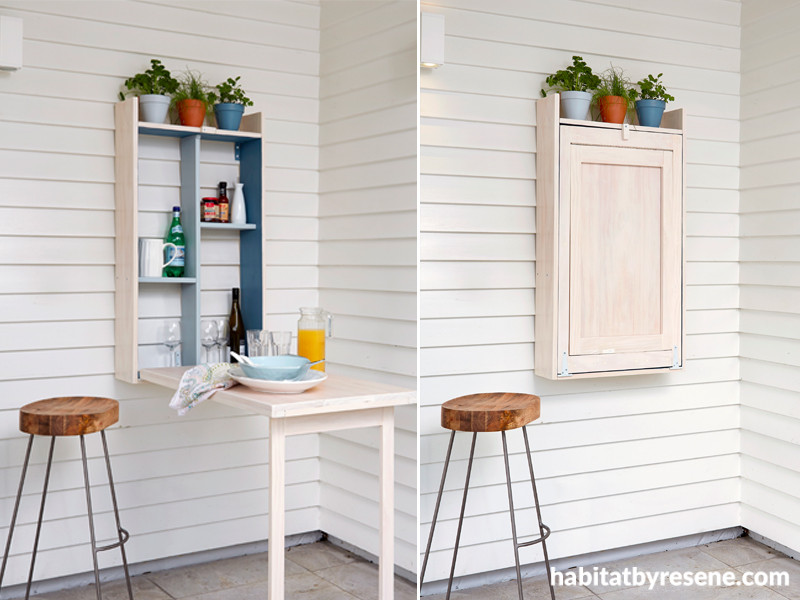
Love to entertain? Keep it a breeze with this nifty DIY fold out bar. Fold out when guests arrive, entertain, enjoy; fold away when it's all over. Here's how to make your own.
You will need
- Dressed pine (see below for requirements)
- Measuring tape
- Drop saw (or get the hardware store to cut the lengths for you)
- Screws and drill, or liquid nails and wood clamps
- A continuous hinge 610mm long
- 2 T hinges
- 2 galvanised brackets
- 1 small bolt
- Sash lock or timber toggle
- Safety goggles and ear muffs
- Resene Colorwood Whitewash and Resene Aquaclear. Or if exposed to the weather and direct sunlight, use Resene Woodsman Whitewash.
- Testpots of Resene Seachange and Resene Half Dusted Blue
Dressed pine
Before you start assembly, lay out the various pieces in formation to double check you have the right lengths. Keep checking as you go as some lengths may need easing or sanding to slot into place.
3 x 2.2m lengths of 180mm x 19mm planks – cut 3 at 940mm for the bar top; 2 at 1080mm for the box sides and 2 at 542mm for the box top and bottom.
1 x 1.6m length of 135mm x 19mm plank – cut 1 at 940mm for the divider and 2 at 260mm for the shelves.
1 x 1.8m length of 65mm x 19mm – cut 2 at 445mm lengths for the top and bottom of the bar top frame. Cut 2 x 350mm lengths for the top and bottom of the leg.
2 x 1.8m (or 4 x 1m) lengths of 45mm x 19mm – cut 2 at 940mm for the sides of the bar top frame. Cut 2 at 810mm for the sides of the leg.
Step one
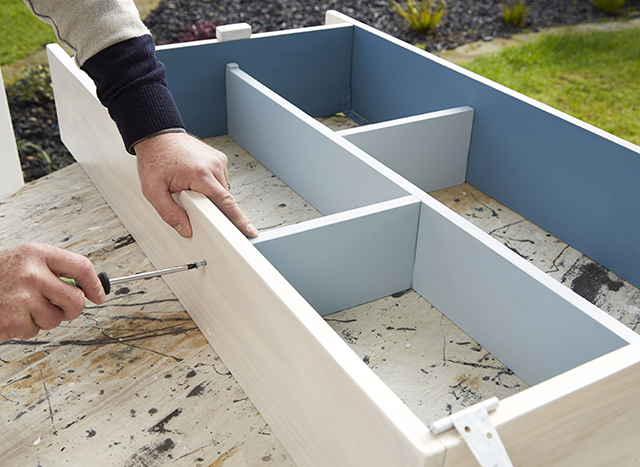
Use the four wider pieces of boards to create the box frame. Attach the bottom piece first, then attach the top piece, 100mm down from the top of the sides. The opening between the top and bottom piece should be 940mm. Note: if you are using a whitewash finish make sure you carefully fill the screw holes so that they are not so obvious, or use liquid nails.
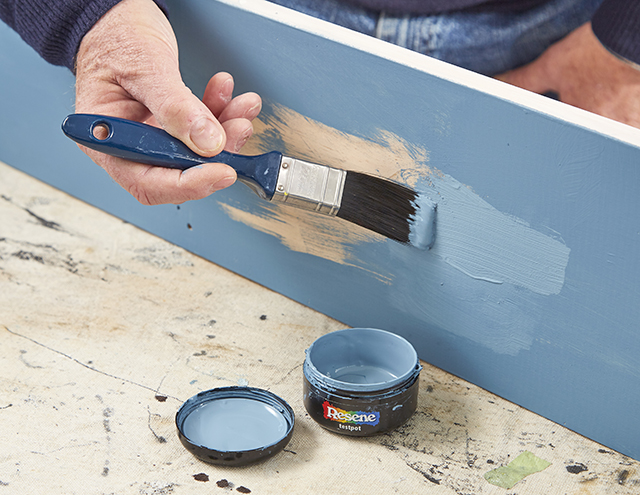
Paint the inside of the box frame in Resene Seachange. Paint the shelf pieces in Resene Half Dusted Blue. Coat the outside and all other pieces of timber in Resene Colorwood Whitewash and Resene Aquaclear. Or if exposed to the weather and direct sunlight, use Resene Woodsman Whitewash.
Step two
Attach the divider inside the box frame, making sure it is centred, then attach the two shelves. We put ours at 300mm from the bottom on one side and 300mm from the top on the other.
Step three
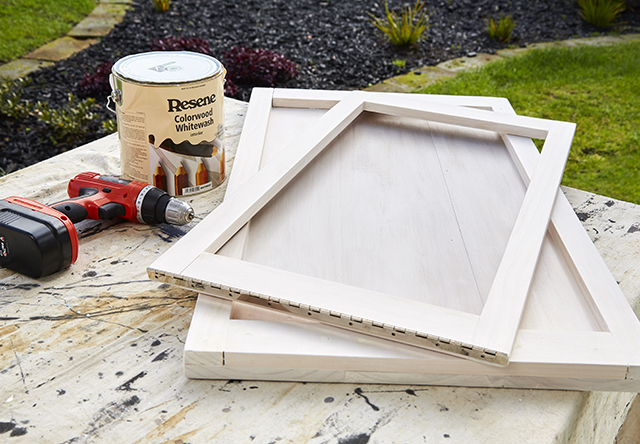
Assemble the bar top frame, placing the shorter 65mm wide pieces inside the longer 45mm pieces. Attach the boards for the top onto the frame, using liquid nails and making sure the edges are flush with the frame.
Assemble the fold-out leg, placing the shorter 65mm wide pieces inside the longer 45mm pieces.
Attach the leg to the bar top and frame, using the continuous hinge.
Step four
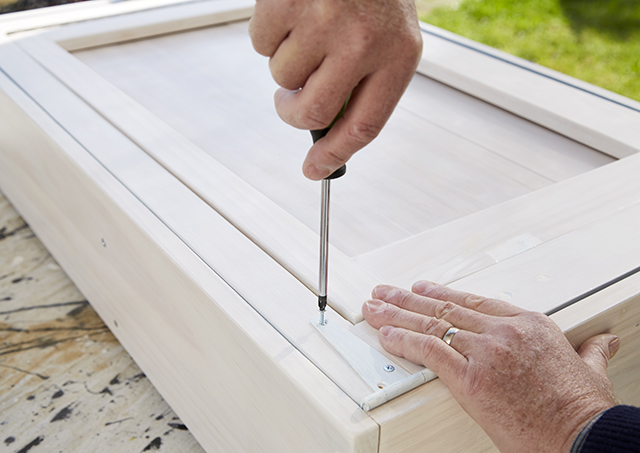
Attach the bar top and leg to the box frame using the T hinges.
Use the brackets to attach the unit to the wall. Install a timber toggle or sash lock to keep the bar top flush with the frame when the unit is closed. Also attach a safety catch or similar between the leg and the frame so that the leg can’t be accidentally kicked closed when the unit is open. If the unit sits above a deck, attach a bolt to the bottom of the leg, and drill a hole into the deck to keep the leg secure when open.
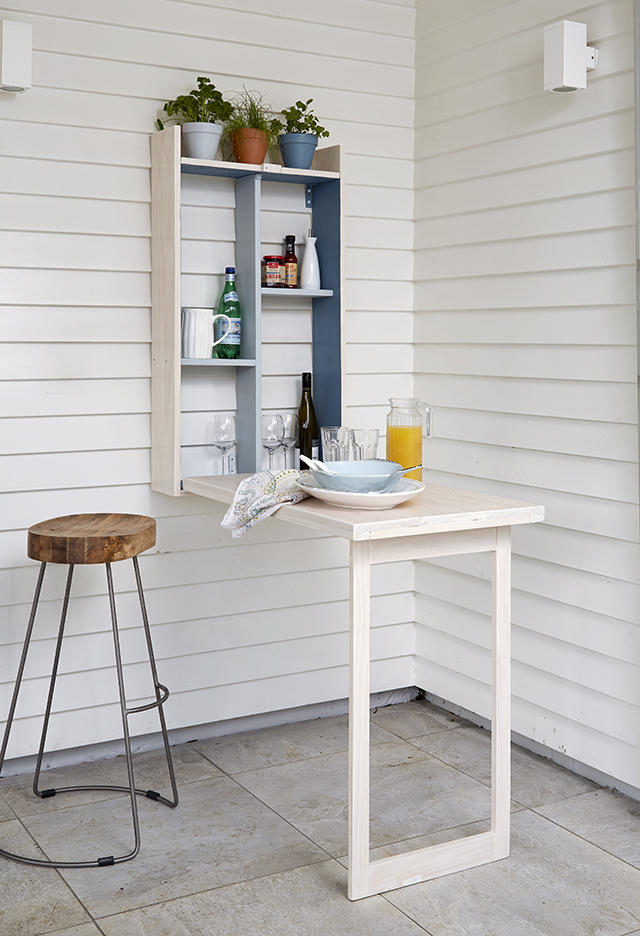
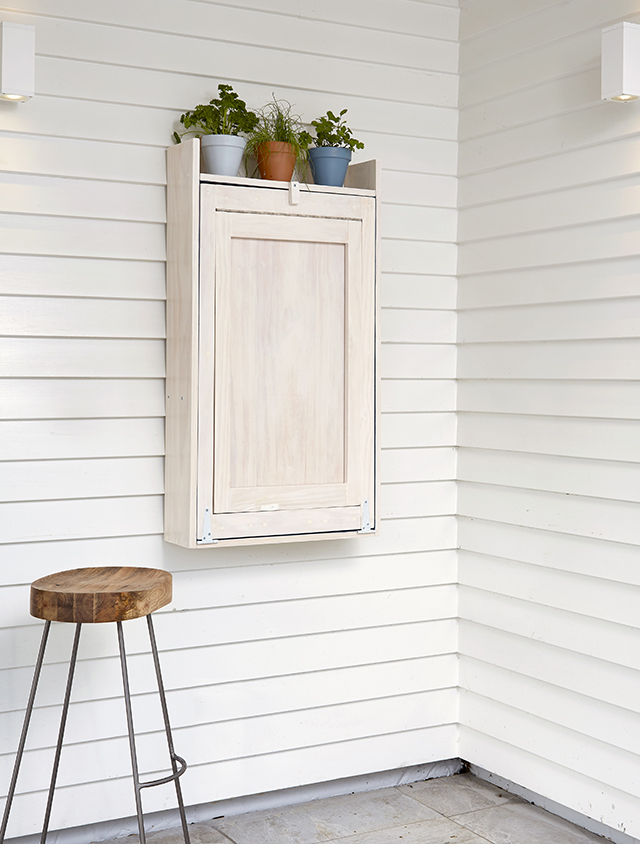
A great solution for any outdoor area. The unit is finished in Resene Colorwood Whitewash, Resene Seachange and Resene Half Dusted Blue. The weatherboards are Resene Sea Fog and two of the herb pots are Resene Seachange and Resene Half Dusted Blue.
Published: 26 Feb 2018

