
latest
habitat tv

Say goodbye to the morning scramble for keys, coats and sunglasses and hello to this… see this and more videos
blog

Brick Bay unveils its poetic new folly for 2026
The winner of the 2026 Brick Bay Folly competition has been unveiled. Within the Wings… more
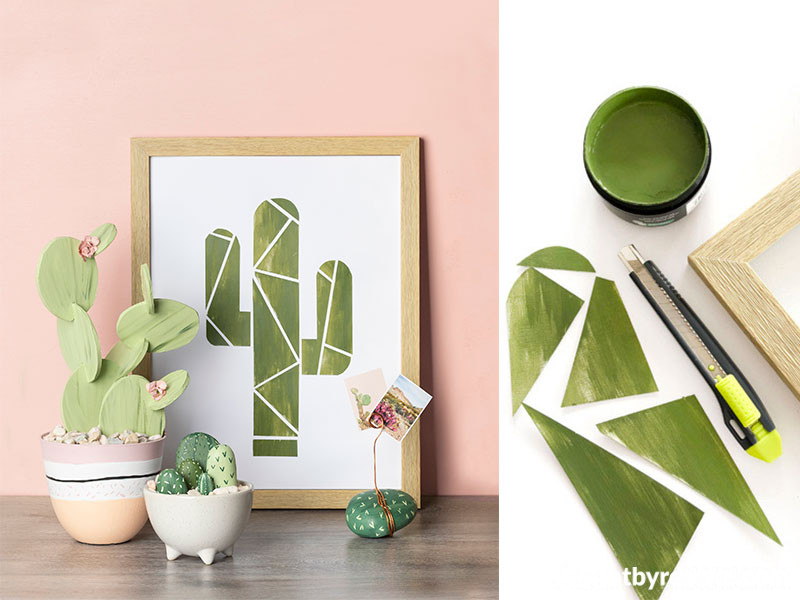
DIY cactus art 3 ways
04 Oct 2018
There’s something endlessly appealing about cacti when it comes to home decorating. The creative folk at Australian Women's Weekly show us how to use Resene paints to create three quirky, fun and simple cacti that will look good in any room. The wall above is painted in Resene Sakura.
Potted foam cactus
You will need:
- Plastic or terracotta pot
- A3 sheet of foam board
- Pencil
- Craft knife
- Testpots of Resene Caper, Resene Clover, Resene Romantic, Resene Gelato and Resene White
- Fine and medium paintbrushes
- Floral foam
- Small decorative pebbles
- Hot glue and hot-glue gun
- Small pink synthetic flowers
Step 1: Draw a selection of round and oval shapes on to the foam board. Don’t worry about perfect circles – the shapes should be organic and natural looking. Aim for three different sizes based on what works in proportion with the size of your pot.
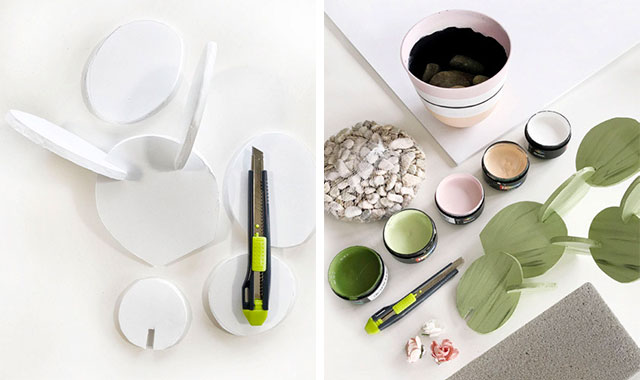
Step 2: Carefully cut out the shapes with a craft knife. Then cut a slice out of each shape about 1-2cm long and as wide as your foam board is thick, so the pieces can slot together. If the cut is too wide they won’t stay in place.
Step 3: Paint all your cactus pieces in Resene Caper, then while they’re still wet, use a smaller brush to add streaks in Resene Clover for a more natural look.
Step 4: Paint your pot while the cactus dries, being as creative as you like. We’ve gone with stripes painted in Resene Romantic on the bottom and two bands of Resene White in the middle with a gap to show through the black pot. Paint the top rim in Resene Gelato. We’ve also added some flecks of Resene Romantic on one of the white bands to represent cactus spikes. Don’t be afraid to experiment with other colour combinations that appeal to you and work with your décor.
Step 5: Connect the foam shapes at different angles, once they’re dry. You can glue them if they won’t stay put.
Step 6: Add heavy stones in to the bottom of the pot to keep it stable then use some florist foam, cut to about three-quarters the depth of your pot. Use this to hold your foam cactus in place.
Step 7: Finish by filling the pot with small pebbles. You could also glue on a couple of pink flowers as a finishing touch.
Pebble planter
You will need:
- Small planter pot
- Range of river stones
- Tespots of Resene Caper, Resene Clover, Resene Tom Thumb, Resene Dingley, Resene White and Resene Permanent Green
- Fine and medium paintbrushes
- Small decorative pebbles
- Sand or soil
Step 1: Thoroughly clean your river stones of any dirt and dust, then leave to dry.
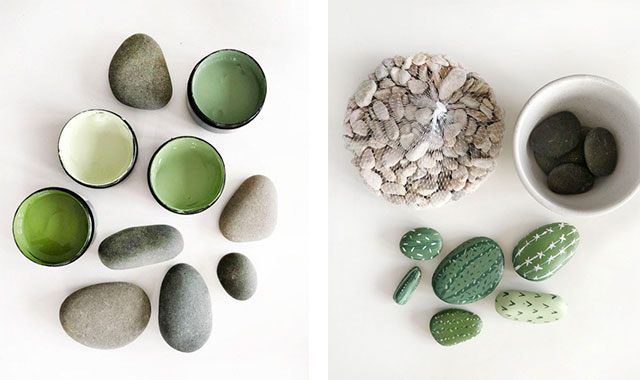
Step 2: Get creative! Paint and decorate your river stones however you wish to resemble cacti. Think about painting each stone a different base colour then use a contrast colour or two to add the stripes, crosses and dashes. It’s a good idea to paint more than you think you’ll need if you can, so you have plenty of choice when it comes to arranging them.
Step 3: Place some heavy stones in the bottom of your pot for stability and three-quarter fill the rest with sand or soil to help your cactus stones sit upright. Once dry, push your painted stones into place using varying heights and shapes to create interest. Sprinkle decorative pebbles in to cover the soil or sand and you’re done!
Note: You can also use large painted river stones to make photo holders. Twist one end of some copper wire (50g or 1.5mm thick) around something round such as thick marker pen a couple of times to make loops. Bend the wire to the desired height, wrap the rest around the stone and trim to finish.
Framed geo cactus
You will need:
- A3 frame
- 2 pieces of A3 white paper
- 1 piece of A3 white card
- Resene Clover testpot
- Paintbrush
- Scissors
- Craft glue
Step 1: Photocopy the template image shown here to your desired size.
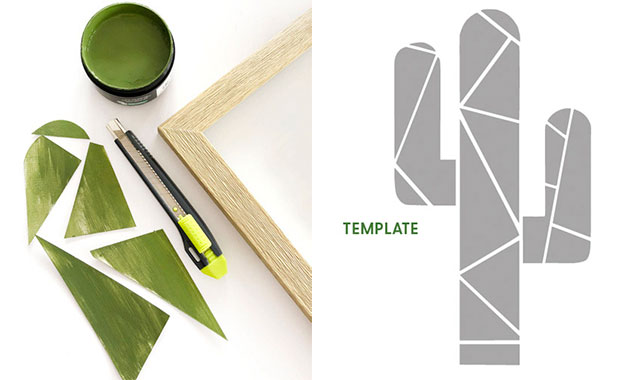
Step 2: Paint your piece of white card with Resene Clover. Using a dry brush, make a few streaks to give your painted surface a more textured appearance.
Step 3: Once dry, trace your template on to the painted card and cut out the pieces. Place them on your other piece of paper as you go. Centre the pieces on your paper, and glue them into place. Numbering the rear side of your pieces in pencil and keeping them in order will help you glue the pieces in the right place. Once dry, place the image into your frame.
Styling by Marsha Smith.
See the Australian Women's Weekly for this and more great ideas. On sale now.

Published: 04 Oct 2018

