
latest
habitat tv

Say goodbye to the morning scramble for keys, coats and sunglasses and hello to this… see this and more videos
blog

Reader roundup: Public murals and powder blues
A Morningside mural, an exterior refresh, and striped walls. Let these projects be your inspiration… more
Create your own DIY cardboard cutout art
13 Mar 2026
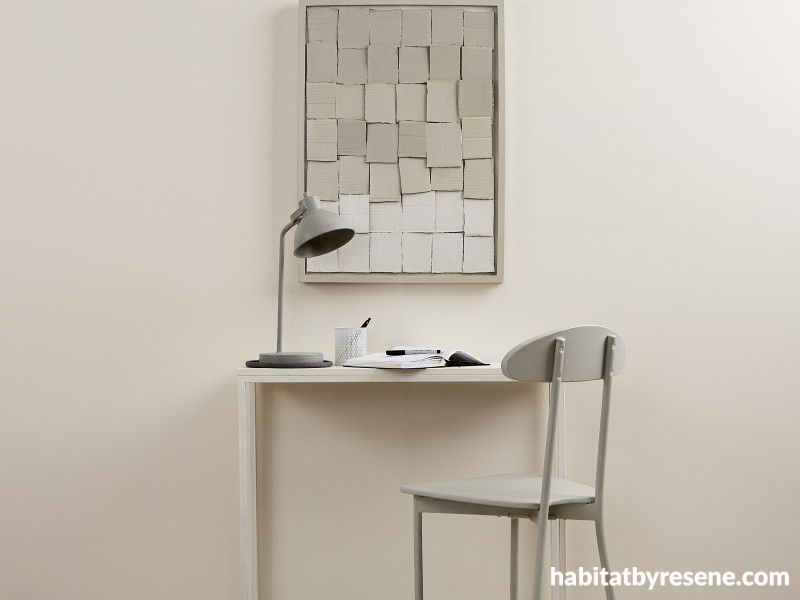
Create soothing wall art using rectangle shaped cardboard pieces painted in gentle shades of Resene Napa. Arrange and secure them onto a picture frame backing board to form a modern, tonal pattern. This neutral and textural piece adds a calming touch and effortless style to a study nook or bedroom.
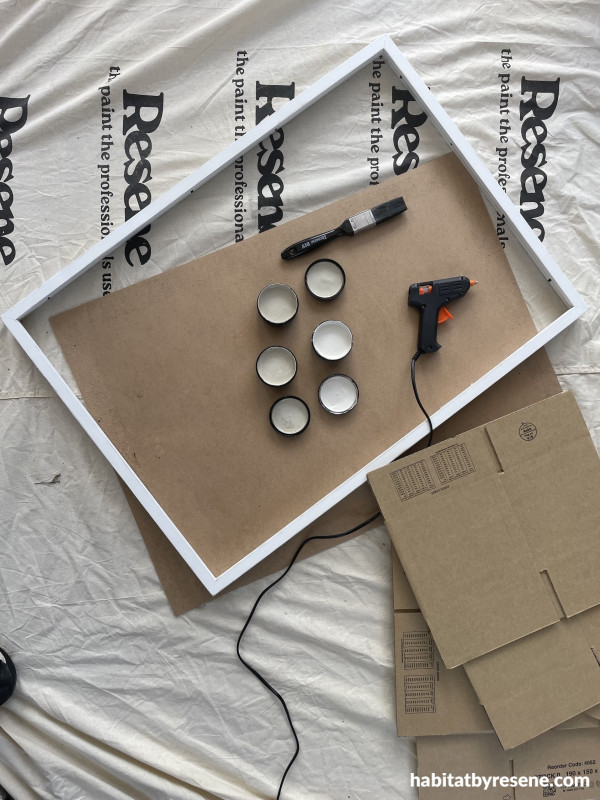
You will need:
- 1 old picture frame (with glass removed)
- Cardboard
- Scissors
- Glue gun and glue sticks
- Resene testpots in a trio of shades (we used Resene Napa, Half Napa and Eighth Napa)
- Resene Aquaclear Satin
- Resene testpot paintbrush
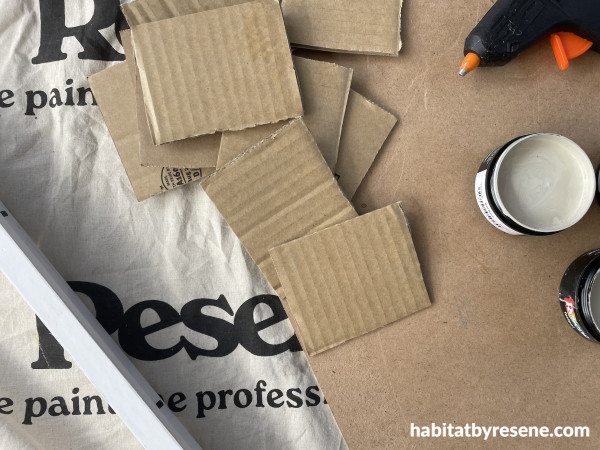
Step 1: Cut cardboard into similar sized rectangles, with slight variations for an organic and not-so-perfect effect.
Note: Work out how many rectangles you’d like to sit across the width and depth of your frame before you start cutting, to ensure your sizing is correct.
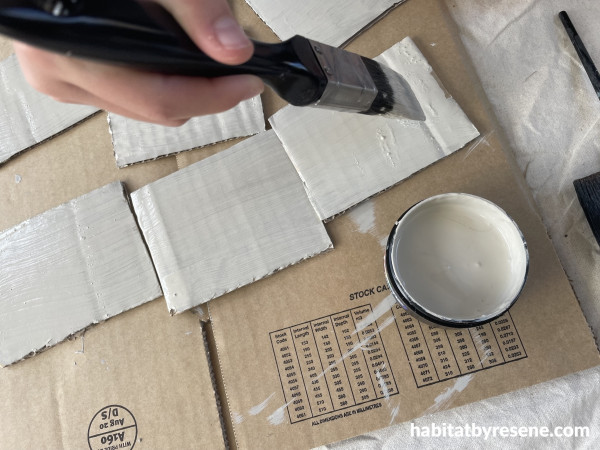
Step 2: Paint your rectangles using a Resene testpot brush. Allow to dry. (We only required one coat, but it may depend on your cardboard to whether you require two coats.)

Step 3: Paint your frame in one of the colours from your trio of testpots – we chose Resene Napa. Allow to dry.
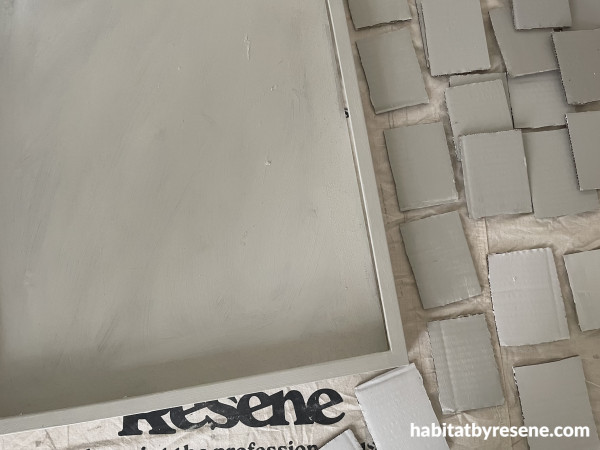
Step 4: Paint the backing frame in one of the colours from your trio of testpots – we chose Resene Eighth Napa. Allow to dry.
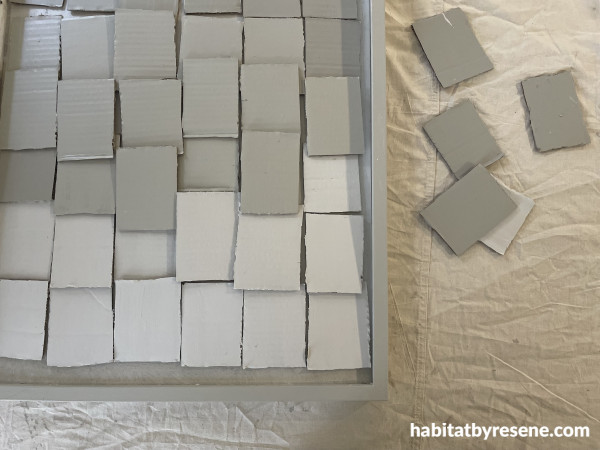
Step 5: Place your painted squares into your frame to create the shape and gradient you would like.
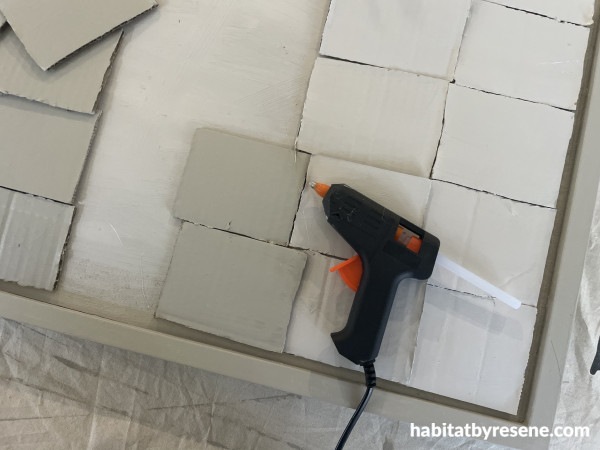
Step 6: Once you are happy with the placement, secure the cardboard pieces to the backing wall with glue.

Step 7: Finish with Resene Aquaclear Satin before hanging on your wall
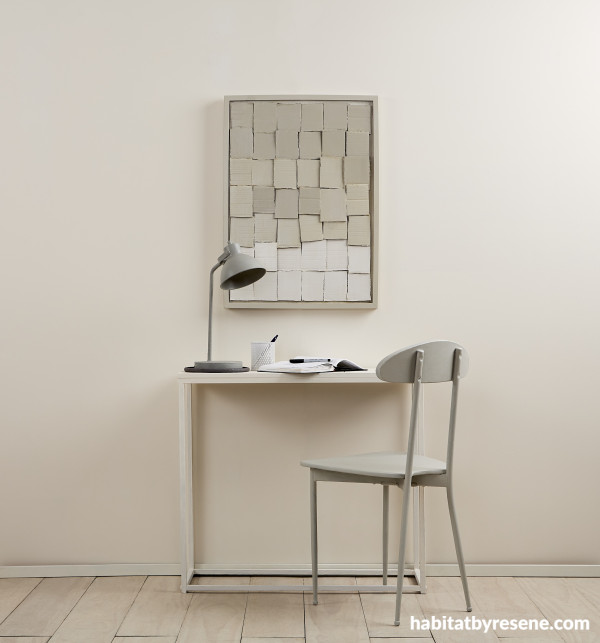
Above: Wall art in Resene Napa, Half Napa and Eighth Napa, wall and desk in Quarter Biscotti, lamp in Half Stonewall, penholder in Eighth Napa and chair in Eighth Stonewall.
project Pamela McIntosh
main image Bryce Carleton
Published: 13 Mar 2026

