Habitat TV
Featured Video
DIY life preserver wreath
duration:
Add to the charm of a nautical themed room with this rustic wrapped rope life preserver wreath.
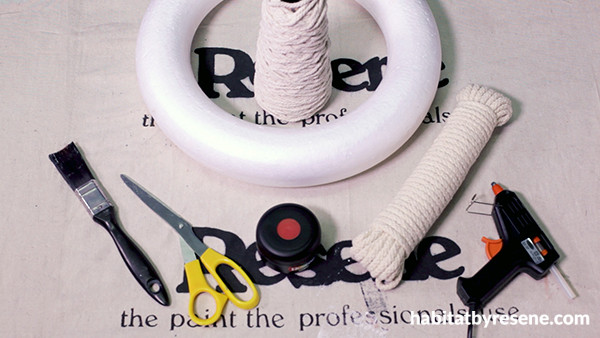
You will need:
- Wreath form – ours was 350mm in diameter
- 30m braided natural cotton rope or similar– ours was 7mm in diameter and came in 15m lengths
- Thinner natural cotton string/rope – like the kind used for macramé
- Hot glue
- Scissors
- Testpot brush
- Resene testpot in Resene Raging Bull
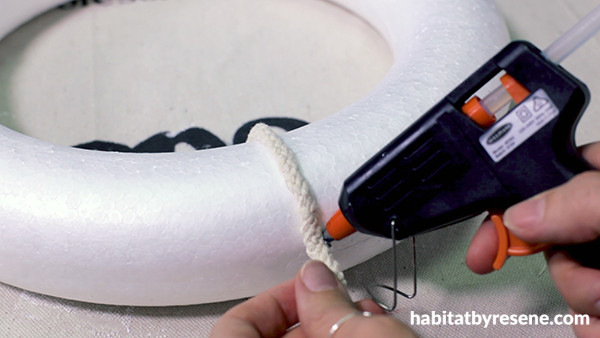
Step 1 Using hot glue, affix the end of your wider length of rope firmly to the top back of your wreath form.
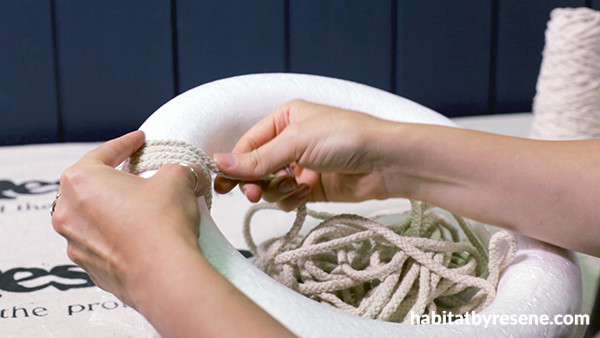
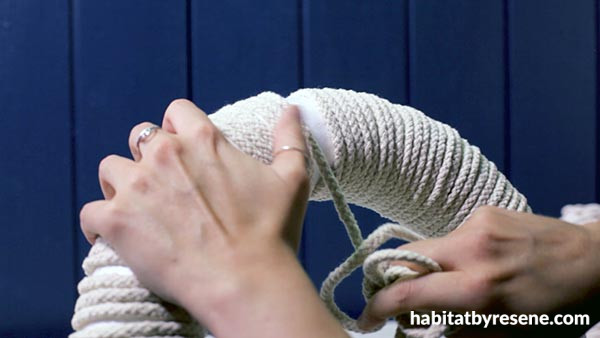
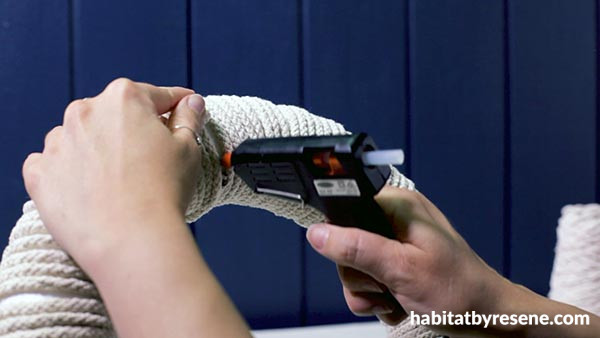
Step 2 Begin wrapping the rope around the wreath, passing the entire length of rope through the centre each time and tacking it with hot glue as you go. Work slowly, keeping the rope fairly taunt but also leaving slight gaps around the outside so that your coils stays straight and evenly spaced. When you reach the end of your length of rope, firmly tack down the end on the back of your wreath using hot glue and snip off any excess rope. Our rope came in 15m lengths, which made it a little more than halfway around our wreath.
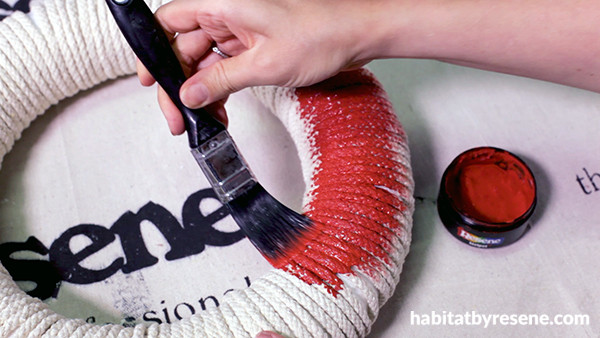
Step 3 Paint your entire wreath in two coats of Resene Raging Bull using a testpot brush, being sure to get into all the nooks and crannies and allowing each coat is dry to the touch before starting on the next one. To speed up the drying process, use a hair dryer.
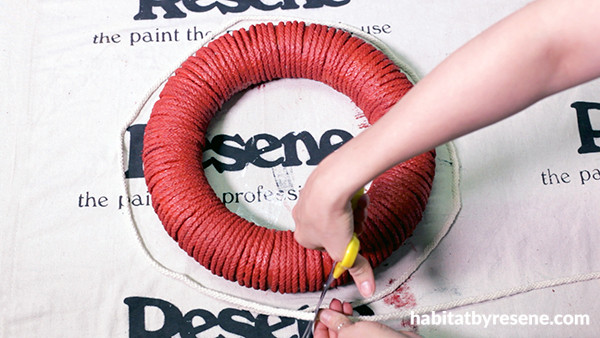
Step 4 Once your second coat of Resene Raging Bull is dry, use the outside of your wreath to measure a length of your wider rope that will make a full circle that will be approximately 5cm wider in diameter and trim off any excess. You may find it easier to work with if you use hot glue to attach the ends of your rope together to make a complete circle, but this is optional.
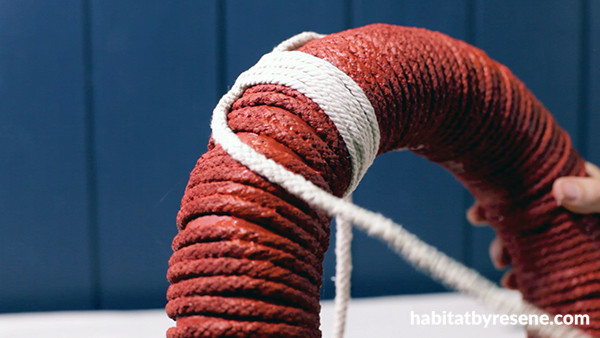
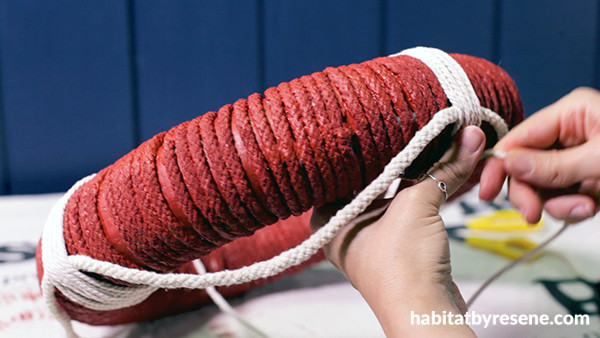
Step 5 Using your thinner string/rope, tightly bind your ring of wider rope to your wreath at 1 o’clock, 4 o’clock, 7 o’clock and 10 o’clock, using hot glue to affix ends underneath as you start and finish each bind and trimming off the excess as you go. We wanted our wreath to have a more rustic look, so we didn’t worry as much about how straight our binds were – but you can make yours as neat and tidy as you’d like.
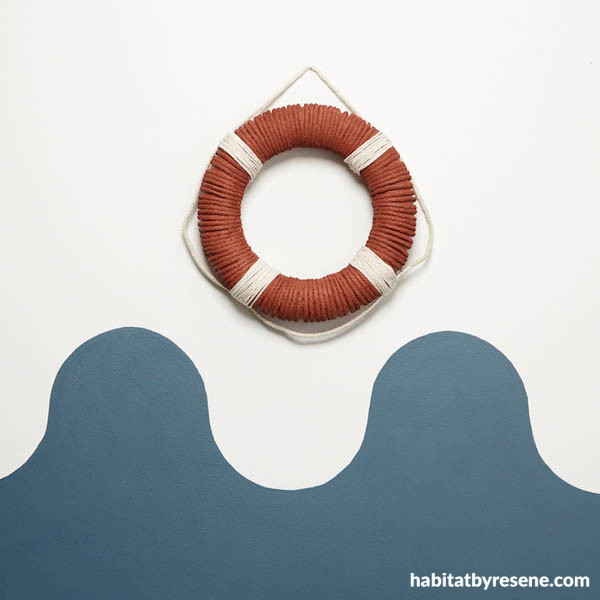
Step 6 If you’d like to customise your wreath, use a small artist’s brush to paint your child’s name – or the name of your boat, if you’re lucky enough to have one – between the bottom two thin rope binds in capital letters using a testpot in Resene Double Alabaster or another colour of your choice. Then, hang your new life preserver wreath on the wall using a small finishing nail or hook from the outside rope.
Category: create with paint
Published on Sep 24, 2020
Latest Habitat TV Videos:

Published 1 year 10 months ago
Say goodbye to the morning scramble for keys, coats and sunglasses and hello to this…

Published 1 year 10 months ago
Entryways are usually the first impression visitors have of your home interior. This DIY organiser…


