
latest
habitat tv

Say goodbye to the morning scramble for keys, coats and sunglasses and hello to this… see this and more videos
blog

Reader roundup: Happy dogs, custom colours and a small Resene fan
We love to share what you have been up to with Resene paints and products!… more
Hop into Easter with these fun DIY projects for the whole family
21 Mar 2024
With Easter looming, we want to bring you more fun and vibrant DIYs that you can do at home with the kids. Although the school holidays are after Easter this year, there’s nothing to stop you doing these cute arts and crafts after the holiday itself! Get the kids involved to pick out their favourite Resene testpot colours and try out these fun projects for yourself!
Wood you look at that chicken!
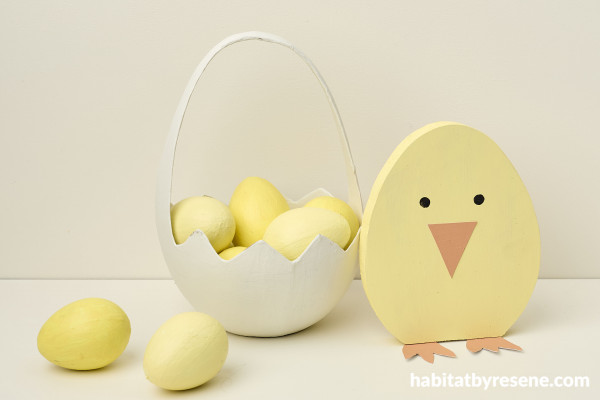
It’s amazing what you can do with a little offcut of wood. This wooden chicken is so cute and is the perfect addition to your console or bookshelf for Easter. We simply took an egg shaped template and drew it onto a piece of pine then cut it out and painted it. This is a great one to do with the kids. Go on give it a go, you could even make a chick family.
You will need:
- A piece of pine, ours was 15cm tall, 12.5 cm wide and 2cm thick or you could make your chick out of thick cardboard
- Egg shaped template with flat bottom or you could freehand draw your shape
- Resene testpot brush
- Cardboard
- Pencil
- Clear craft glue
- Jig saw
- Sandpaper
- Resene testpots in your favourite Easter shades. We used Resene Japonica, Resene Sweet Corn and Resene Black
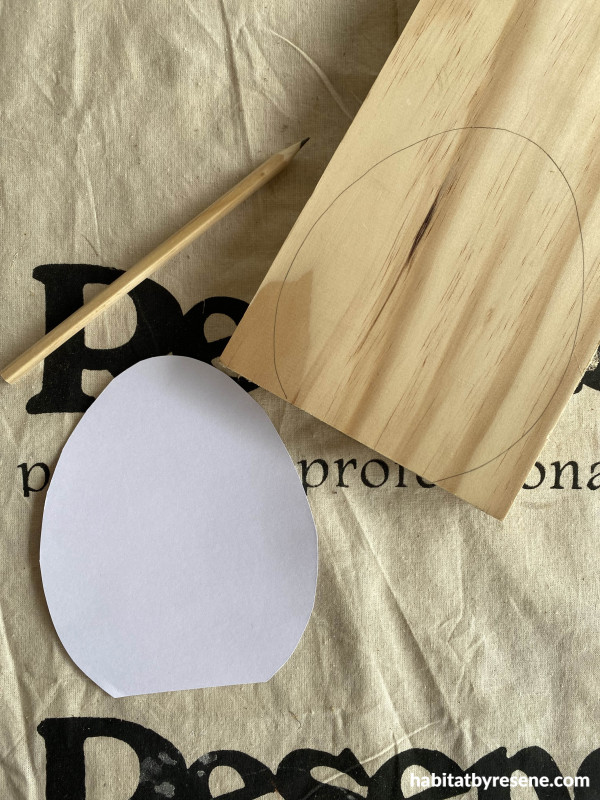
Step 1: Take your egg shaped template and draw on the wood in pencil.
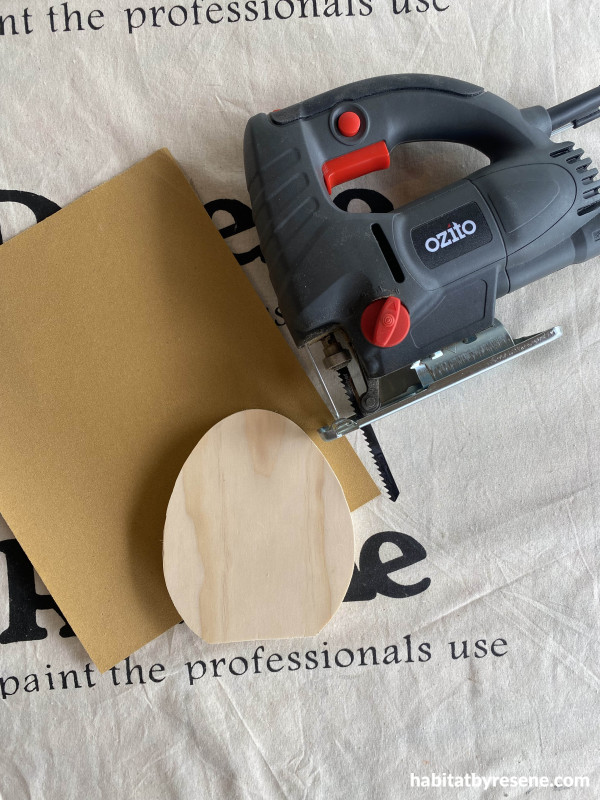
Step 2: Using a jig saw cut out the egg shape and give the edges a light sand using sandpaper. Wipe off all sanding dust.
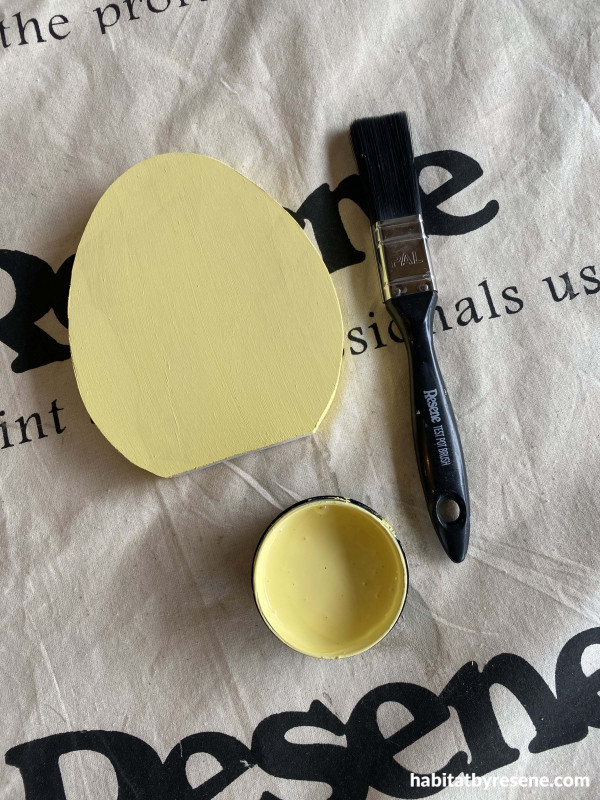
Step 3: Paint your wooden egg in your chosen Resene colour. We used two coats of Resene Sweet Corn.
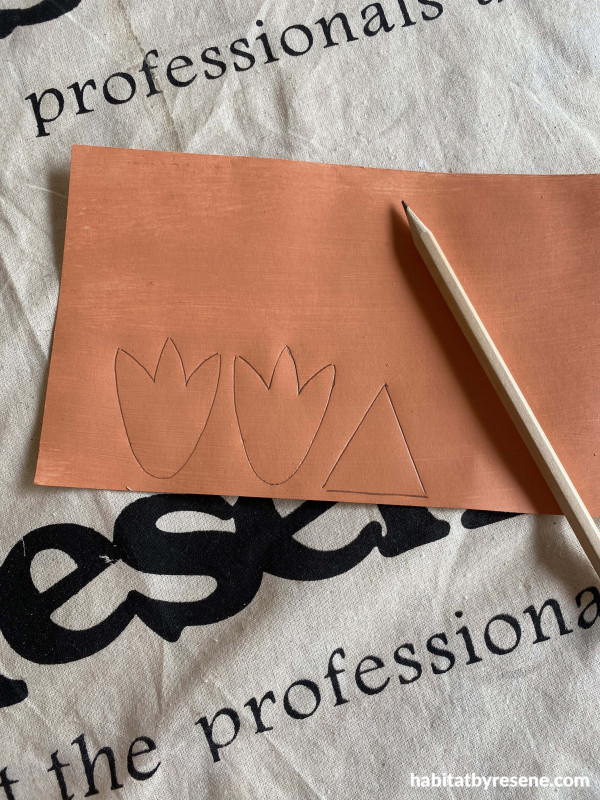
Step 4: Paint a piece of cardboard in another of your chosen Resene shades. We used two coats of Resene Japonica. When the card is dry, draw your chicken feet and beak shape and cut out using scissors.
Step 5: Glue the beak and feet onto the painted chicken and paint on the eyes in Resene Black.
Wall, table and basket painted in Resene Half Spanish White, eggs in Resene Wild Thing and Resene Sweet Corn.
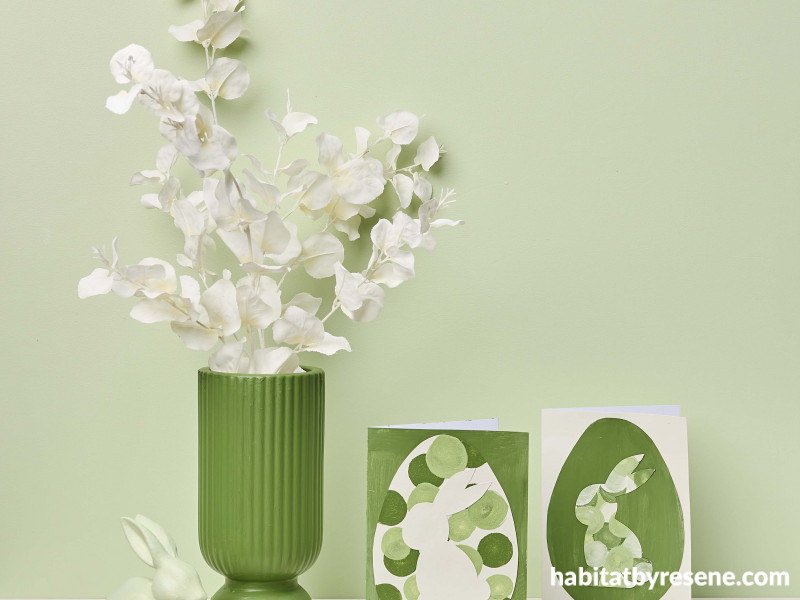
Cards to make every bunny smile!
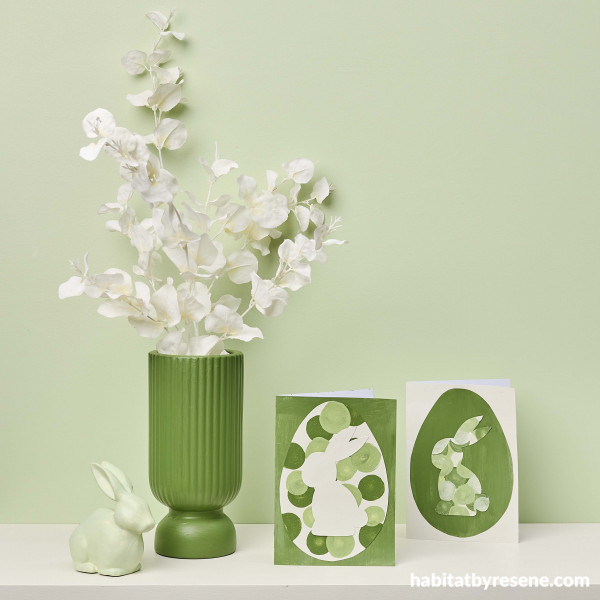
Everyone loves a handmade card so why not save yourself some money this year and make your own Easter cards to send to friends and family. This is a great easy project that the kids can do. The best thing about this project is you can be as creative as you like with colours and patterns.
You will need:
- A4 sheets of cardboard
- Egg and bunny template (we got ours off Pinterest) or you could freehand draw your own
- Pencil
- Resene testpot brush
- Foam sponge brushes
- Clear craft glue
- Resene testpots in your chosen Resene colours. We used Resene Dell, Resene Half Spanish White, Resene Chelsea Cucumber and Resene Green House
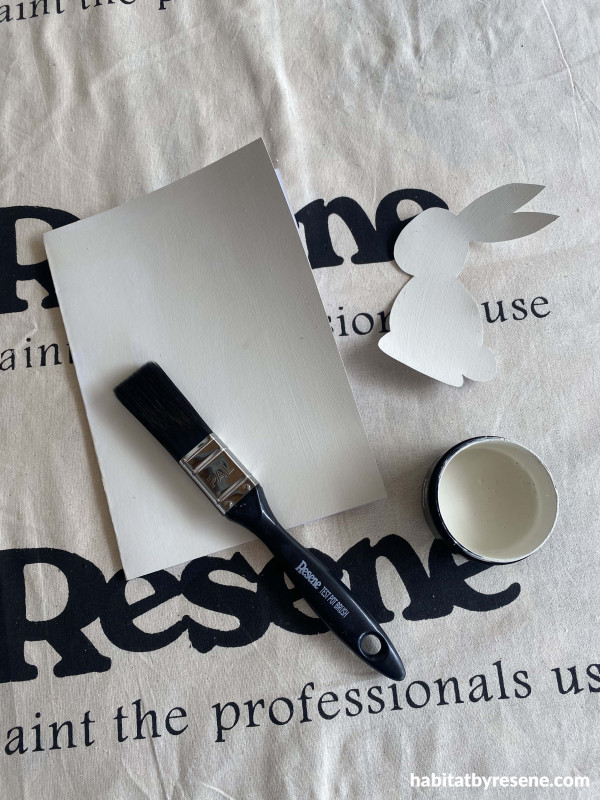
Step 1: Paint two pieces of card in your chosen Resene colours. We painted one in Resene Dell and one in Resene Half Spanish White.
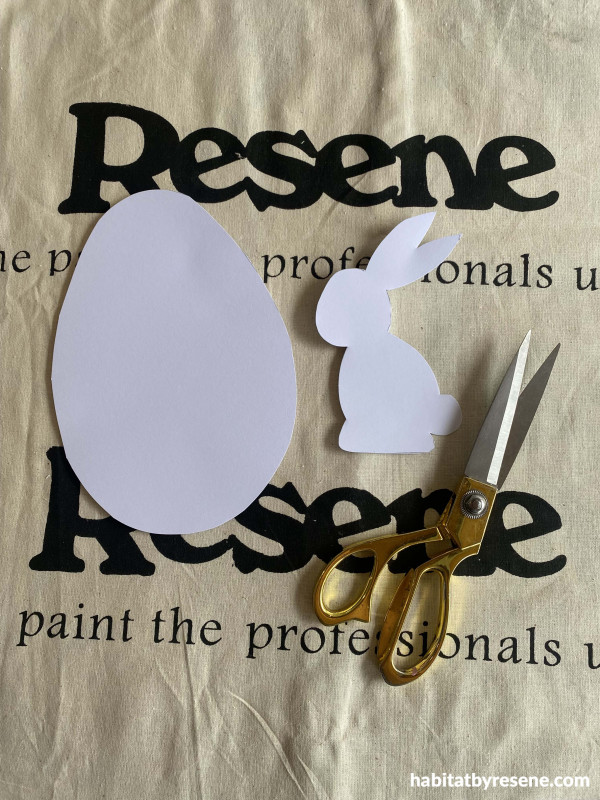
Step 2: Take your egg and bunny templates, draw them onto some pieces of card and cut out.
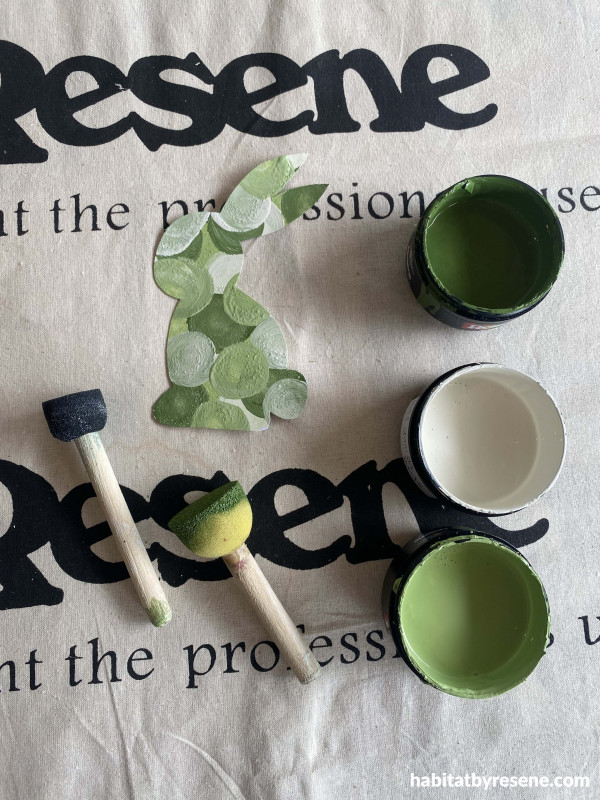
Step 3: Then using some foam sponge brushes, dot your egg and bunny cardboard cut outs to create a spotted design (or you can do any design you like).
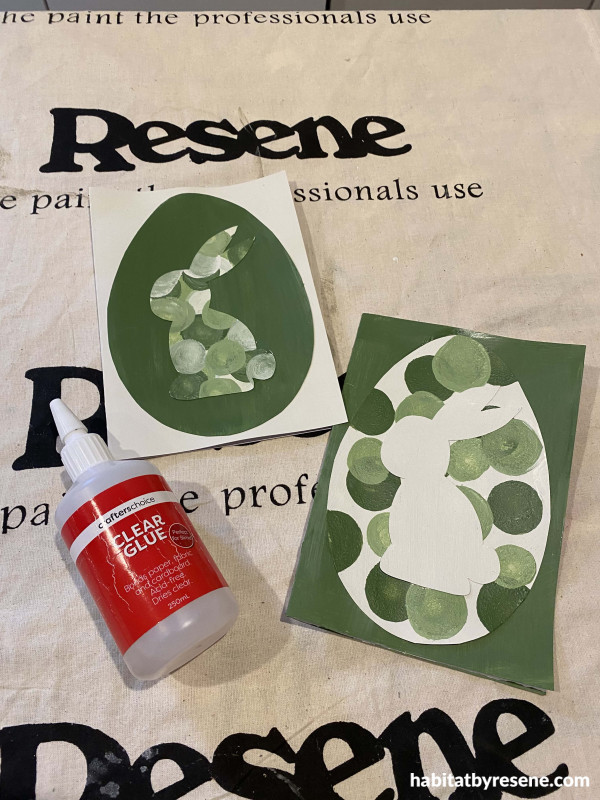
Step 4: Fold the two pieces of painted card in half and then glue the painted egg and bunny onto the cards.
Step 5: Write inside and give to friends and family with some Easter treats or baking.
Wall painted in Resene Soft Apple, console table in Resene Half Spanish White, vase in Resene Dell and bunny in Resene Soft Apple.
A hoppy bag of treats
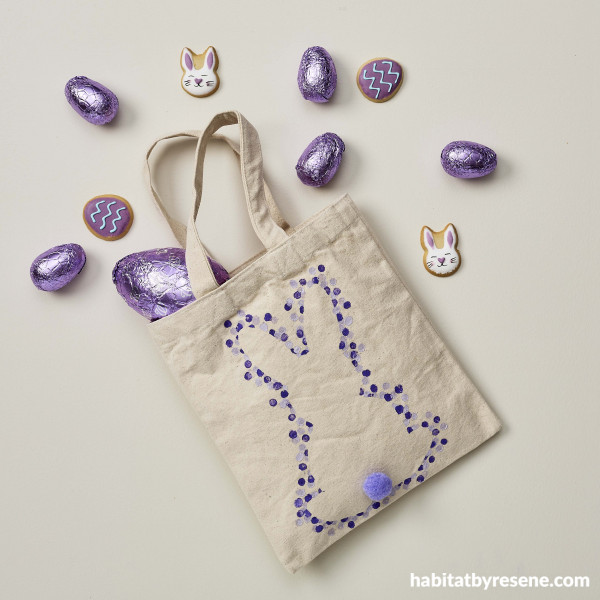
If you are looking for a cute little treat bag to go on an Easter hunt then why not have a go at painting your own? The kids will love doing this project, and you can reuse this bag for many things like collecting groceries, heading to the beach or as a book bag.
You will need:
- Canvas bag (ours was from Warehouse Stationery)
- Pencil with a rubber top
- Pom pom for the tail (optional)
- Clear craft glue (if attaching pom pom)
- Piece of cardboard to go inside back to prevent paint going through to back of bag
- Sticker adhesive or similar
- Bunny template
- Scissors
- Resene testpots in your favourite colours. We used Resene Daisy Bush and Resene Lola
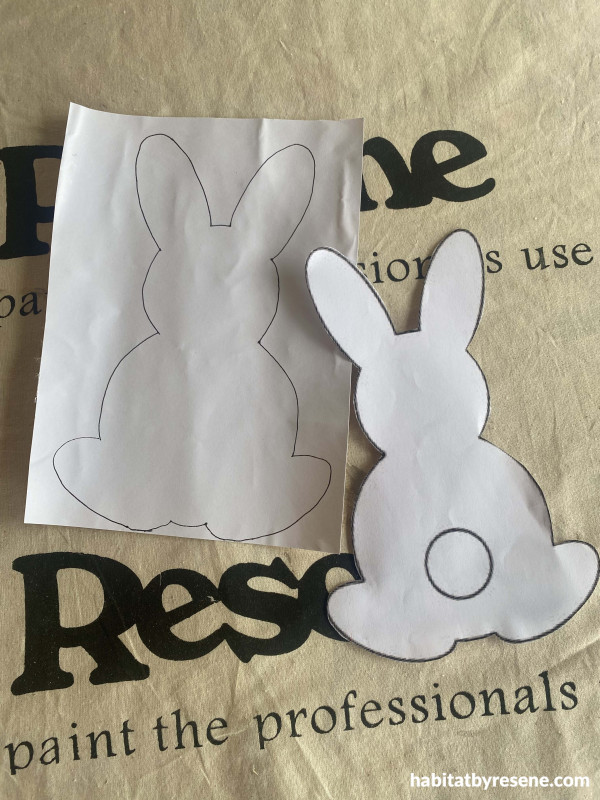
Step 1: Draw your bunny template onto your sticker adhesive in pencil and cut out using scissors. Stick the sticker adhesive cut out shape onto the bag.
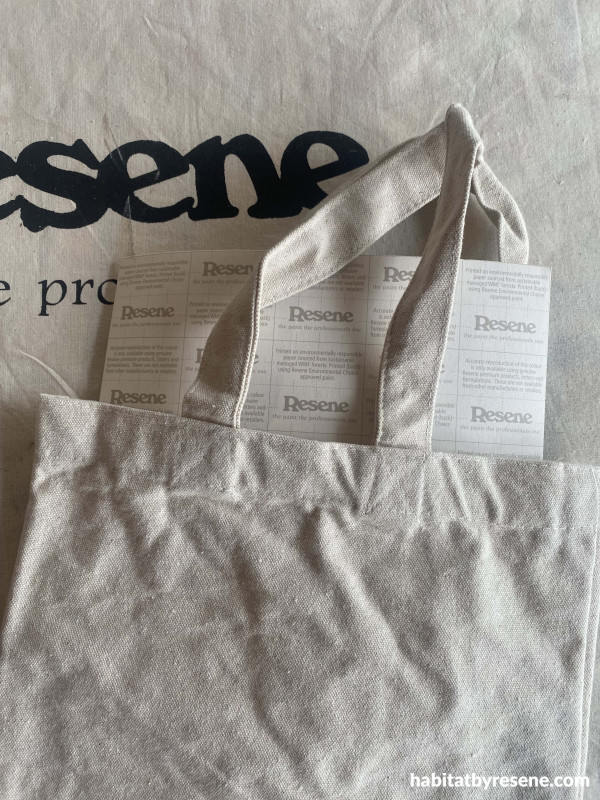
Step 2: Place a piece of cardboard inside the bag so the paint doesn’t go through to the other side.
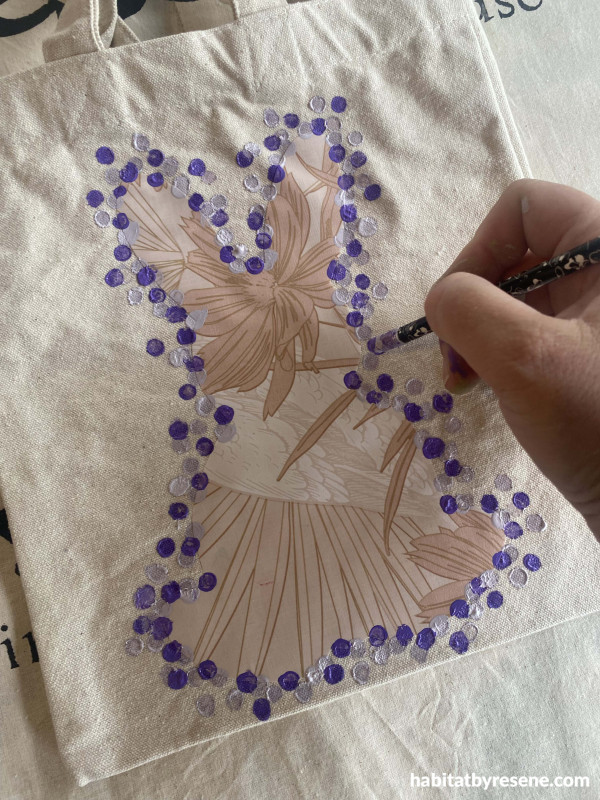
Step 3: Using the end of a pencil with a rubber top dip pencil top into the Resene testpots in Resene Daisy Bush and Resene Lola and dot around the edge of the bunny shape.
Step 4: Once the paint is dry remove the sticker adhesive to reveal the bunny shape. Glue a pom pom onto the bag for a fluffy tail (optional).
Table painted in Resene Half Fossil.
projects Vanessa Nouwens
images Bryce Carleton
Published: 21 Mar 2024
more inspiration

Hues on the move: A DIY rainbow mobile
Get ready to add a vibrant touch to your nursery,… more

Show your support this ANZAC Day with this DIY wreath
Anzac Day is a national day of remembrance in New… more

Sunny side up: Bookends for any weather
Brighten up your bookshelf and organise your books at the… more

A roar-some dish: DIY animal plates
Impress your guests with these DIY animal plates! The Resene… more

Glowing zoofari: Make your own animal themed lamp
Here’s a great DIY to do with the kids over… more


 look book